
How to Build a Remote WooCommerce Shop in 3 Clicks
Last updated: August 2026
This walks through the video above step by step, with a screenshot for each stage. The result: your WooCommerce catalog — cart, wishlist, and sign-in included — running on a site that isn’t built with WordPress at all (Webflow, Wix, Shopify, or a static page), with checkout still completed on your WordPress store.
Step 1 — Add a Swiffle Grid block and select WooCommerce
In the page where you want the shop to appear (Gutenberg or Elementor both work the same way), add a new Swiffle Grid block. In the block’s Data source dropdown, select WooCommerce, then adjust the layout to your liking.
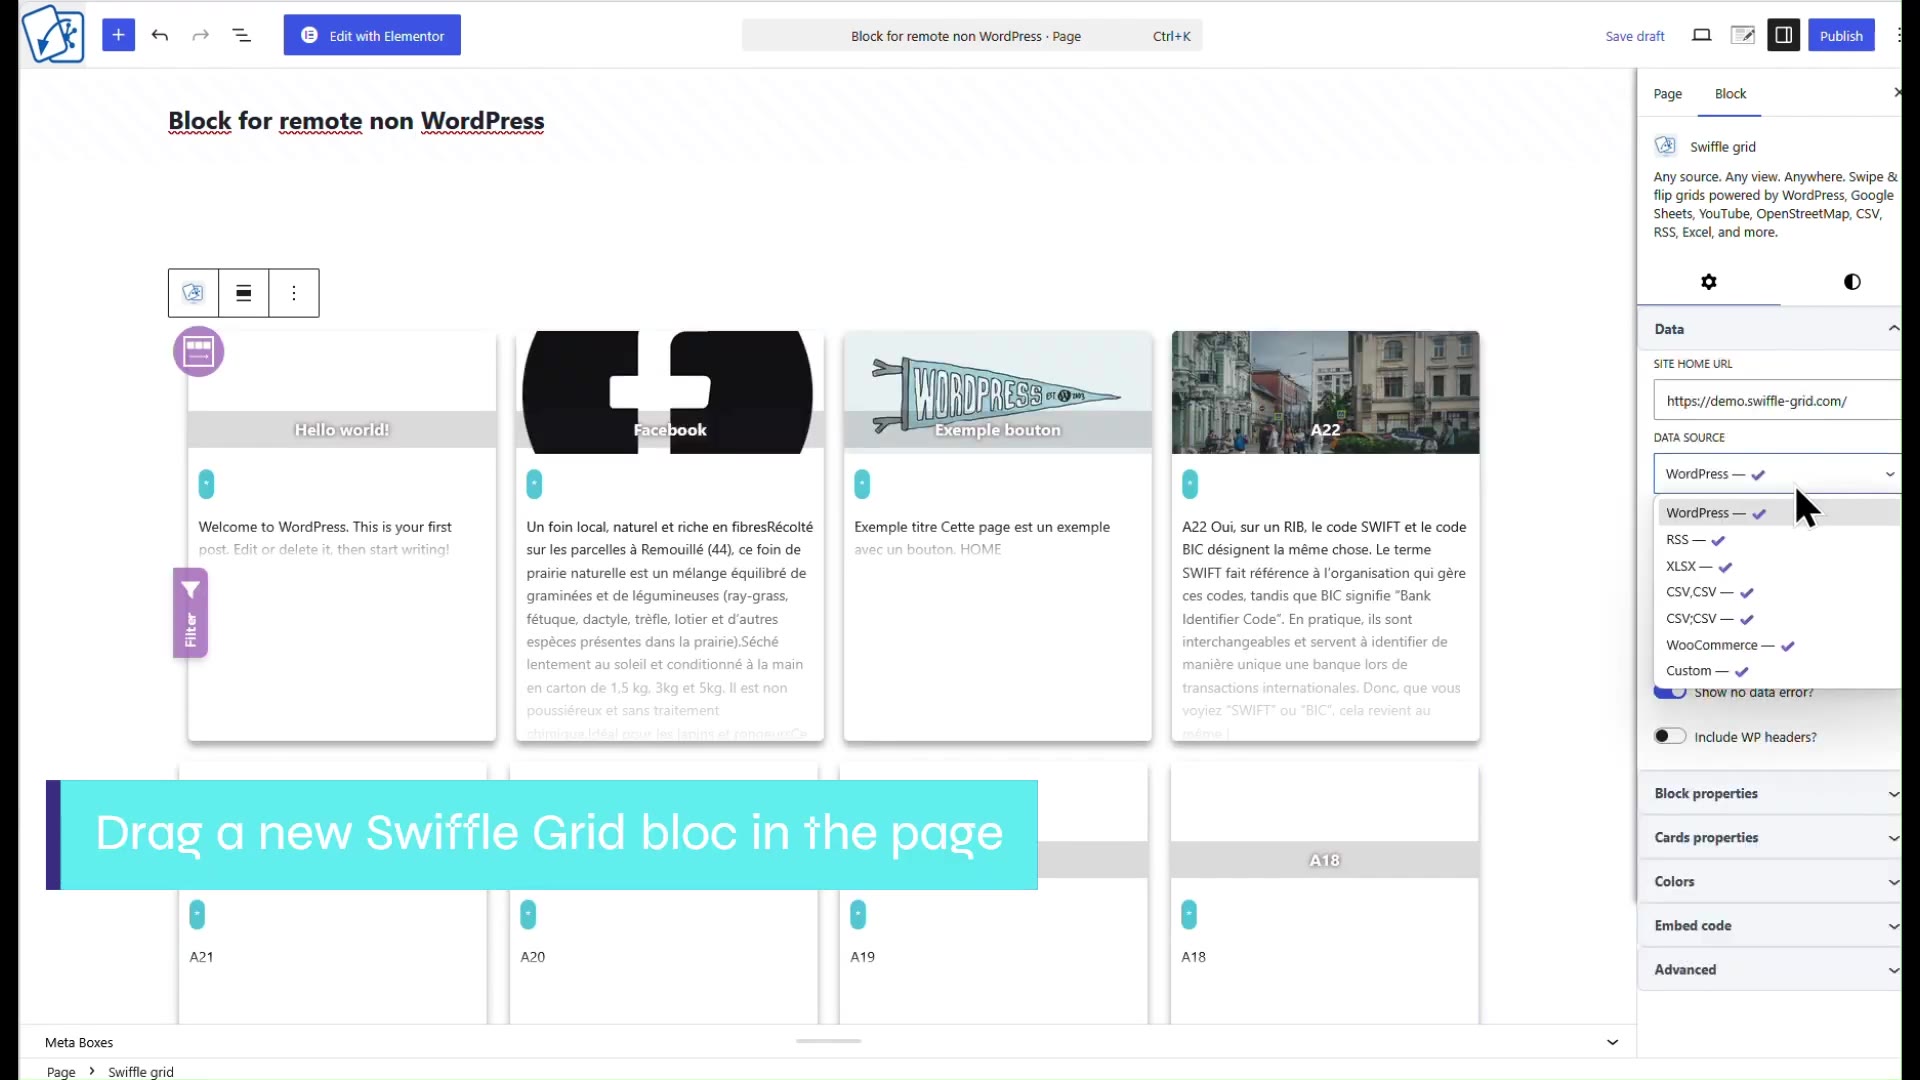
The block’s Data source dropdown, with WooCommerce selected.
Step 2 — Copy the embed code
Open the block’s Embed code tab and click Copy the code. This generates a self-contained HTML snippet for the grid you just configured.
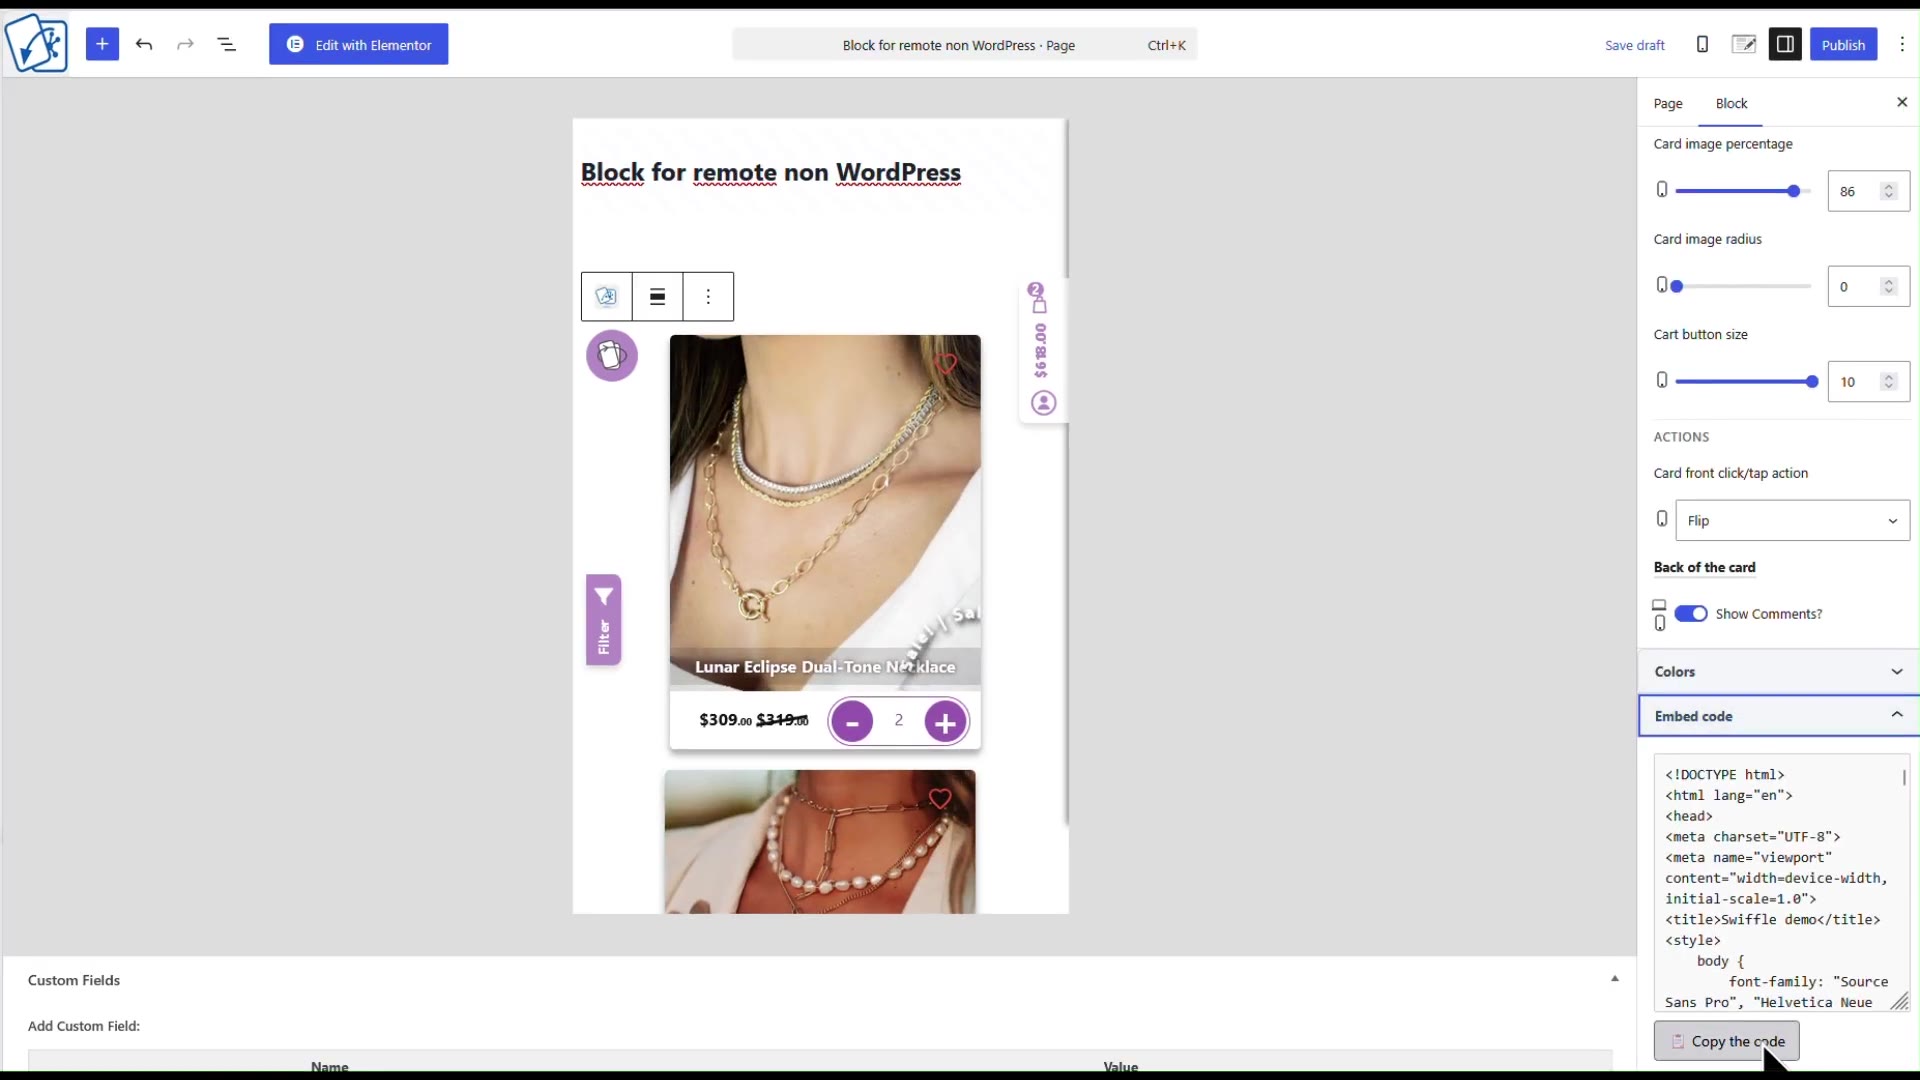
The Embed code tab, ready to copy.
Step 3 — Paste it into your non-WordPress site
Paste the copied code into a page on your external site and save. You can add more surrounding HTML — a title, extra copy, your own layout — around the snippet if needed.
Step 4 — Allow the remote URL
Back in the WordPress admin, open the Swiffle Grid settings and add your external site’s URL under URLs allowed to embed. Without this, the remote embed is refused by the server.
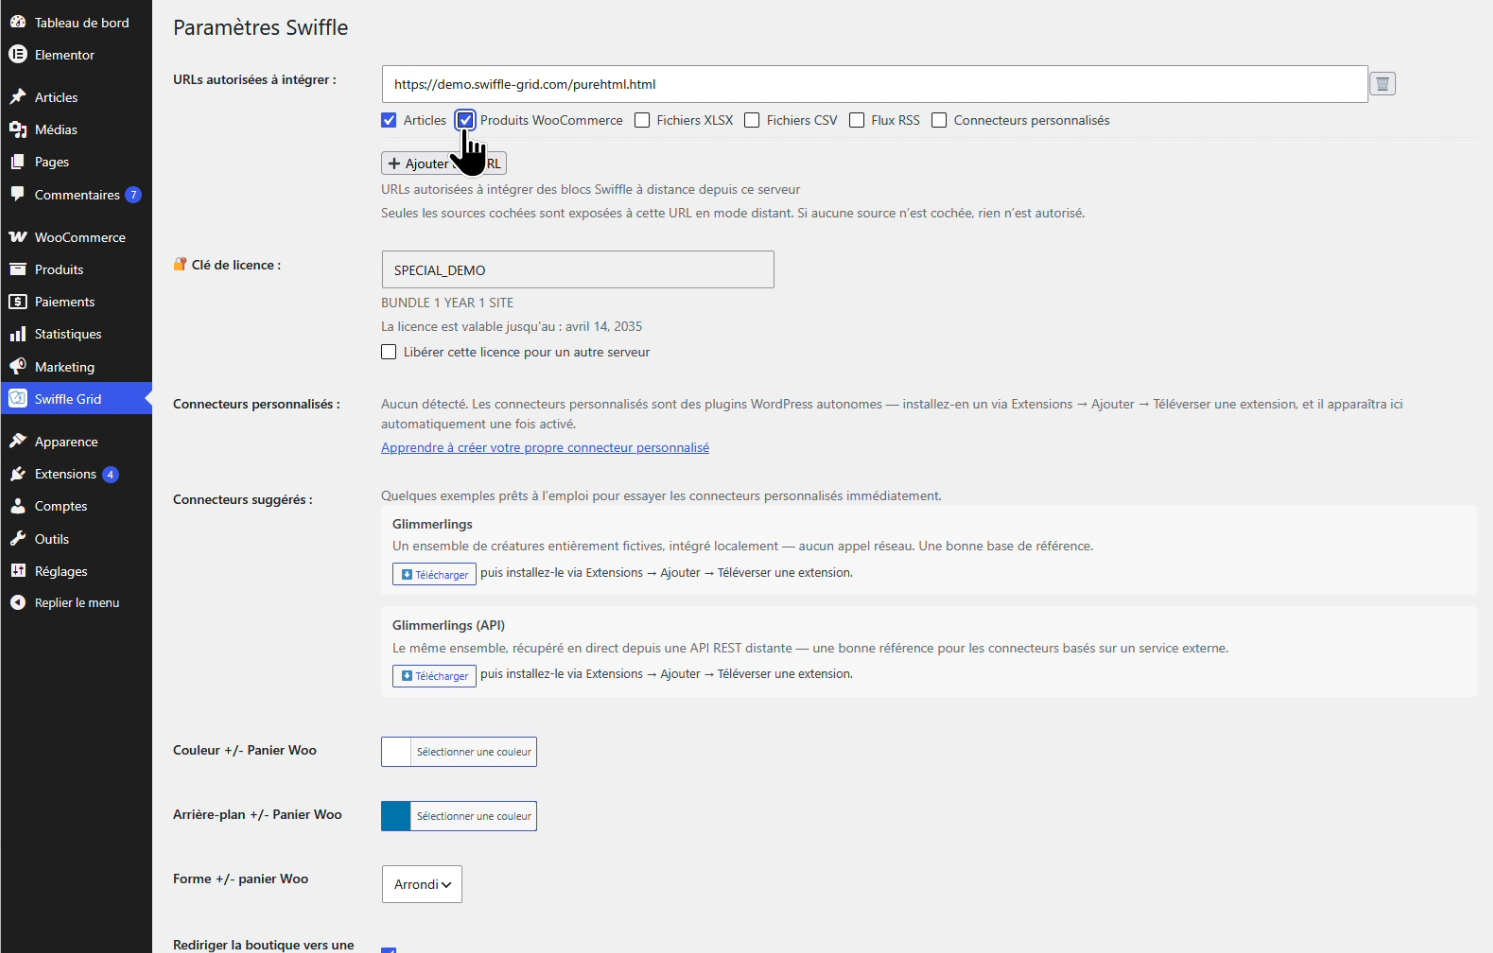
Adding the external site’s URL to the allow list.
ℹ️ The WooCommerce connector requires a paid plan — Store or Bundle. External embed sites are unlimited on every plan, including Free. See Plans for details.
Result
Your WooCommerce shop is now available on your non-WordPress site — cart, wishlist, and sign-in all working, with checkout handed back to your WordPress store at the final step.
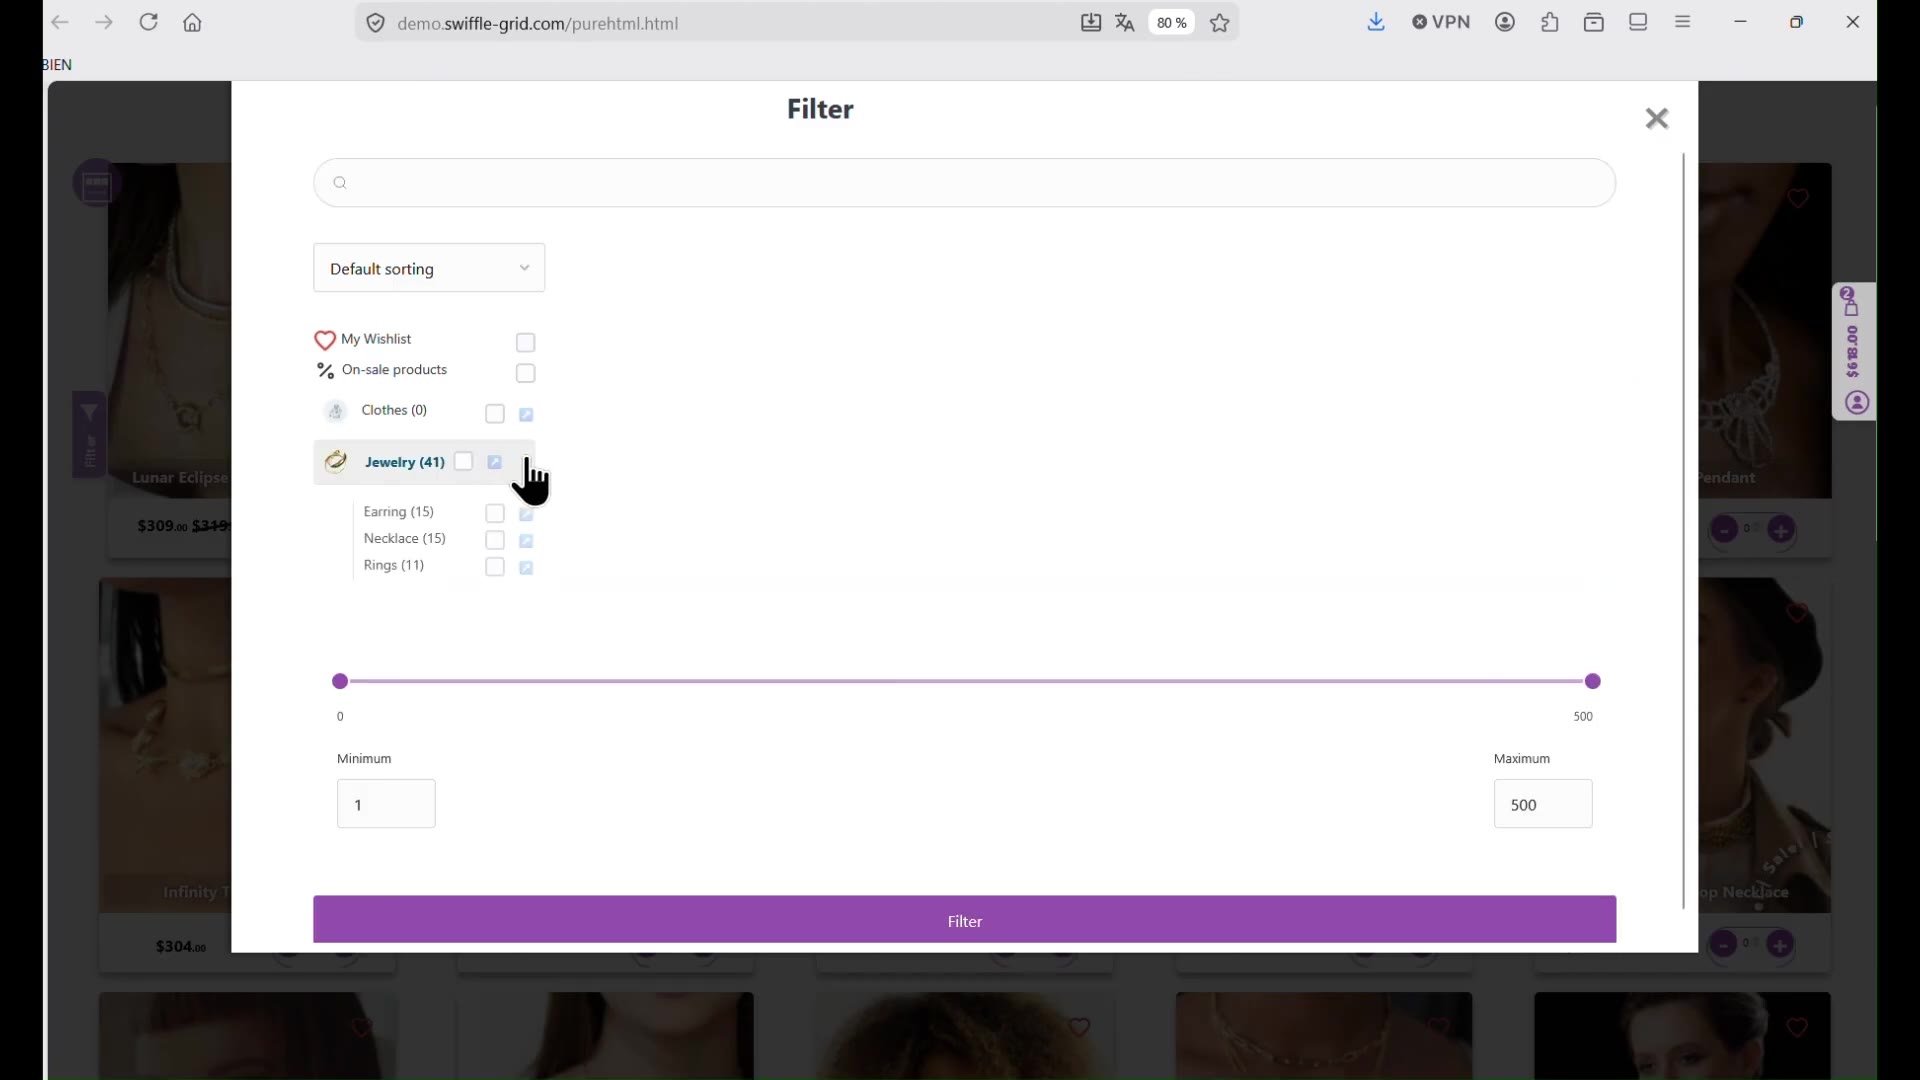
The finished grid, live on an external site.