
How to Create a WooCommerce-like Image Gallery in WordPress
Last updated: October 2026
This walks through the video above step by step, with a screenshot for each stage. The result: any card in a Swiffle Grid can display a full product-style image gallery — a main photo, clickable thumbnails, and full-screen zoom with navigation — exactly like a WooCommerce product page. This works entirely on the Free plan.
Step 1 — Add SLIDEFULL_ columns to your spreadsheet
In your CSV, Excel (XLSX), or Google Sheet, add one column per extra photo, named SLIDEFULL_IMG1, SLIDEFULL_IMG2, SLIDEFULL_IMG3, and so on. Each one points to an additional image for that row, on top of the main IMG_ photo. See the Column Reference for the full list of prefixes.

One SLIDEFULL_ column per extra photo.
Step 2 — Upload your gallery photos
Upload the extra photos to the WordPress Media Library, the same way as the main image — each file name should match what you entered in the SLIDEFULL_ columns.
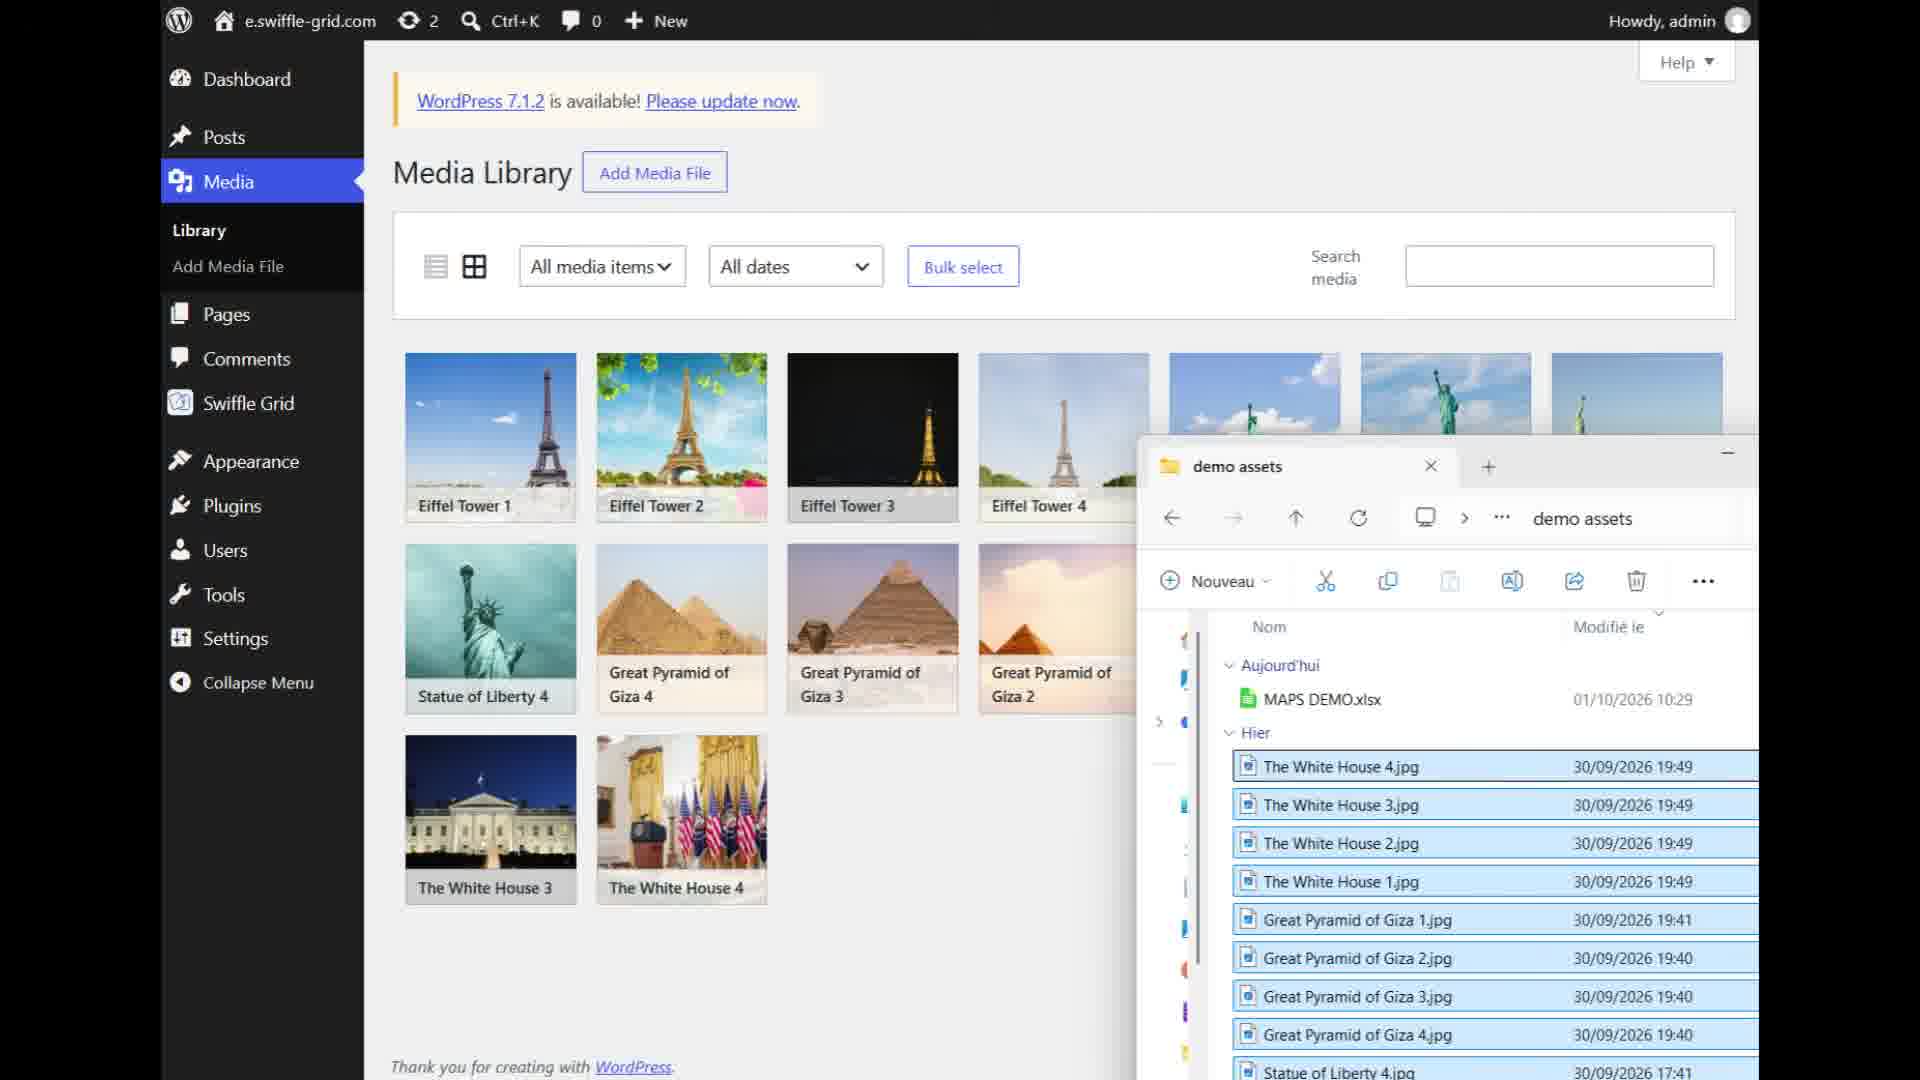
The extra photos, ready in the Media Library.
Step 3 — Connect the file to a Swiffle Grid block
Add a Swiffle Grid block, set its Data source to XLSX (or CSV, or Google Sheet), and select your file. No extra setting is needed — as soon as SLIDEFULL_ columns are present, Swiffle Grid builds the gallery automatically.
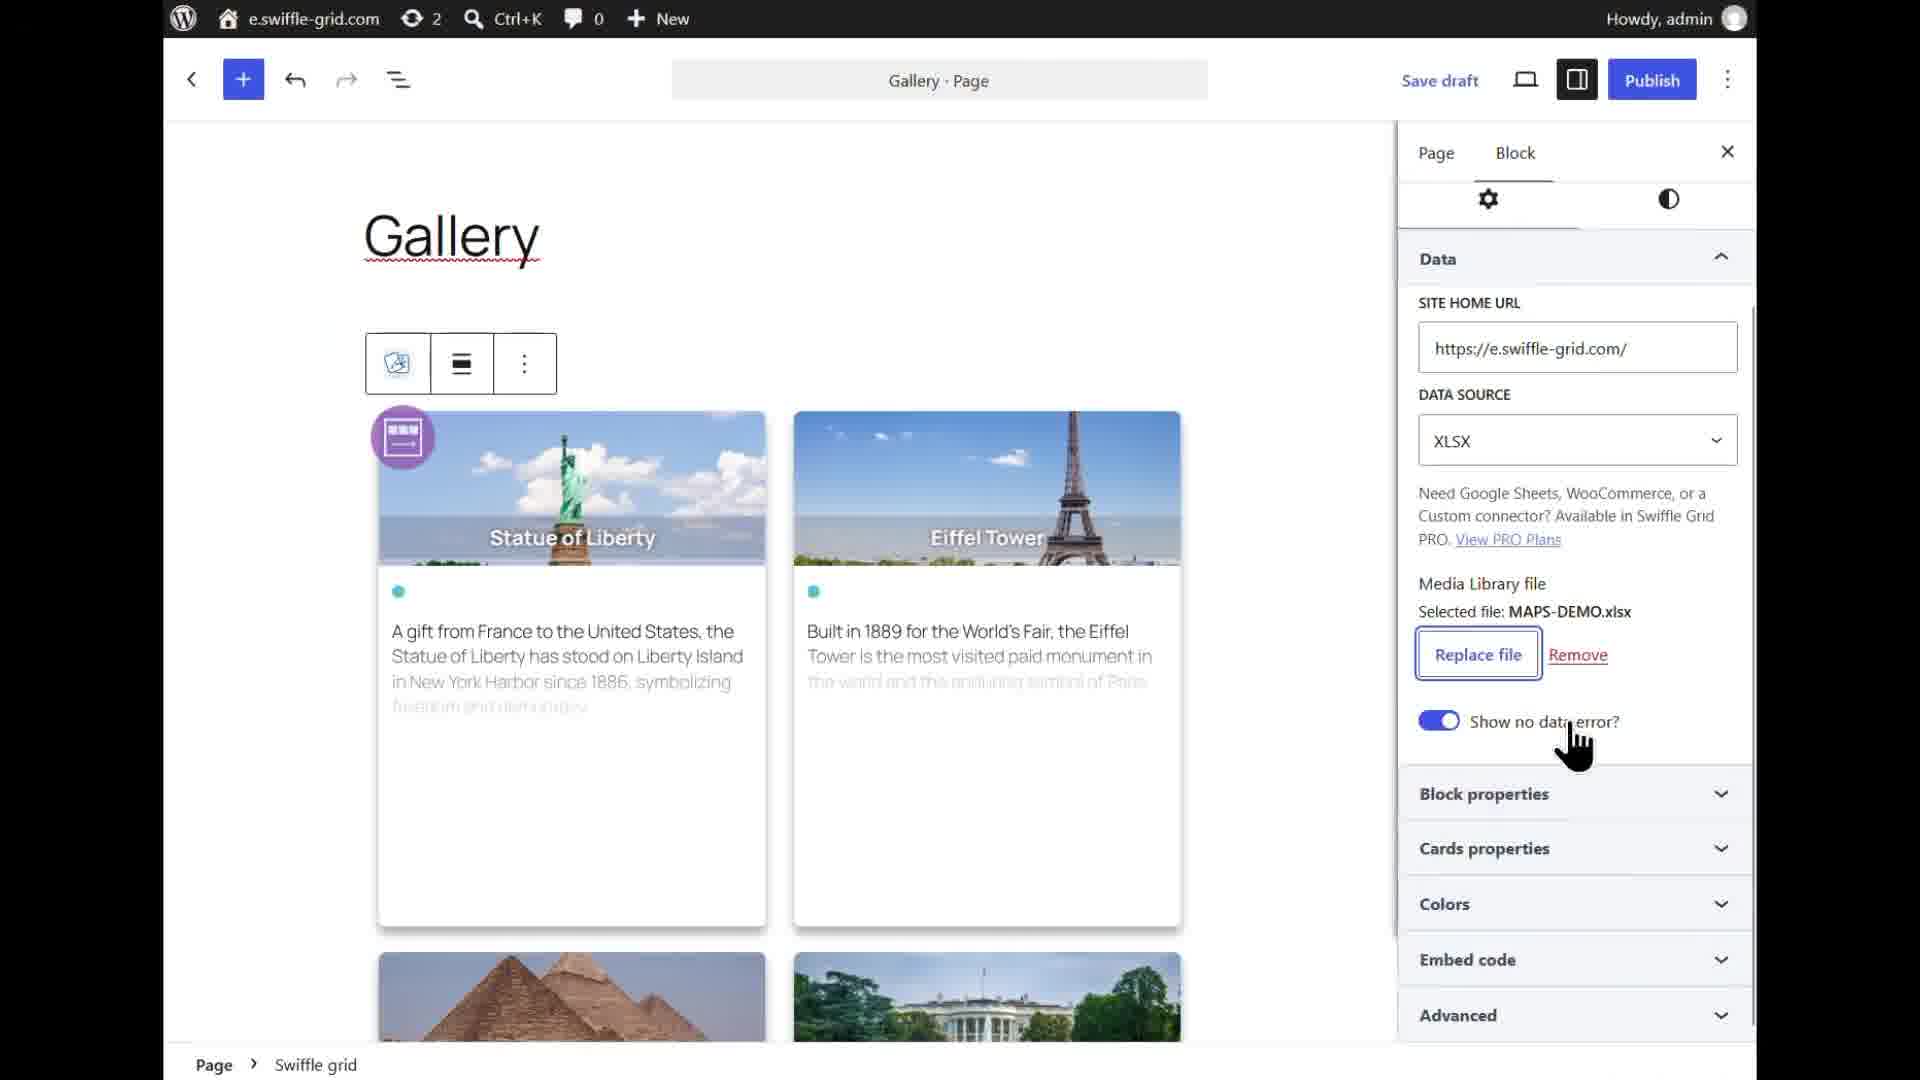
The cards rendering from the spreadsheet.
ℹ️ To update a photo later, upload a new file to the Media Library under the same name — every site using it refreshes automatically, no edit needed on the block itself.
Result
Each card now shows a WooCommerce-style gallery: a main photo with a row of clickable thumbnails below it.
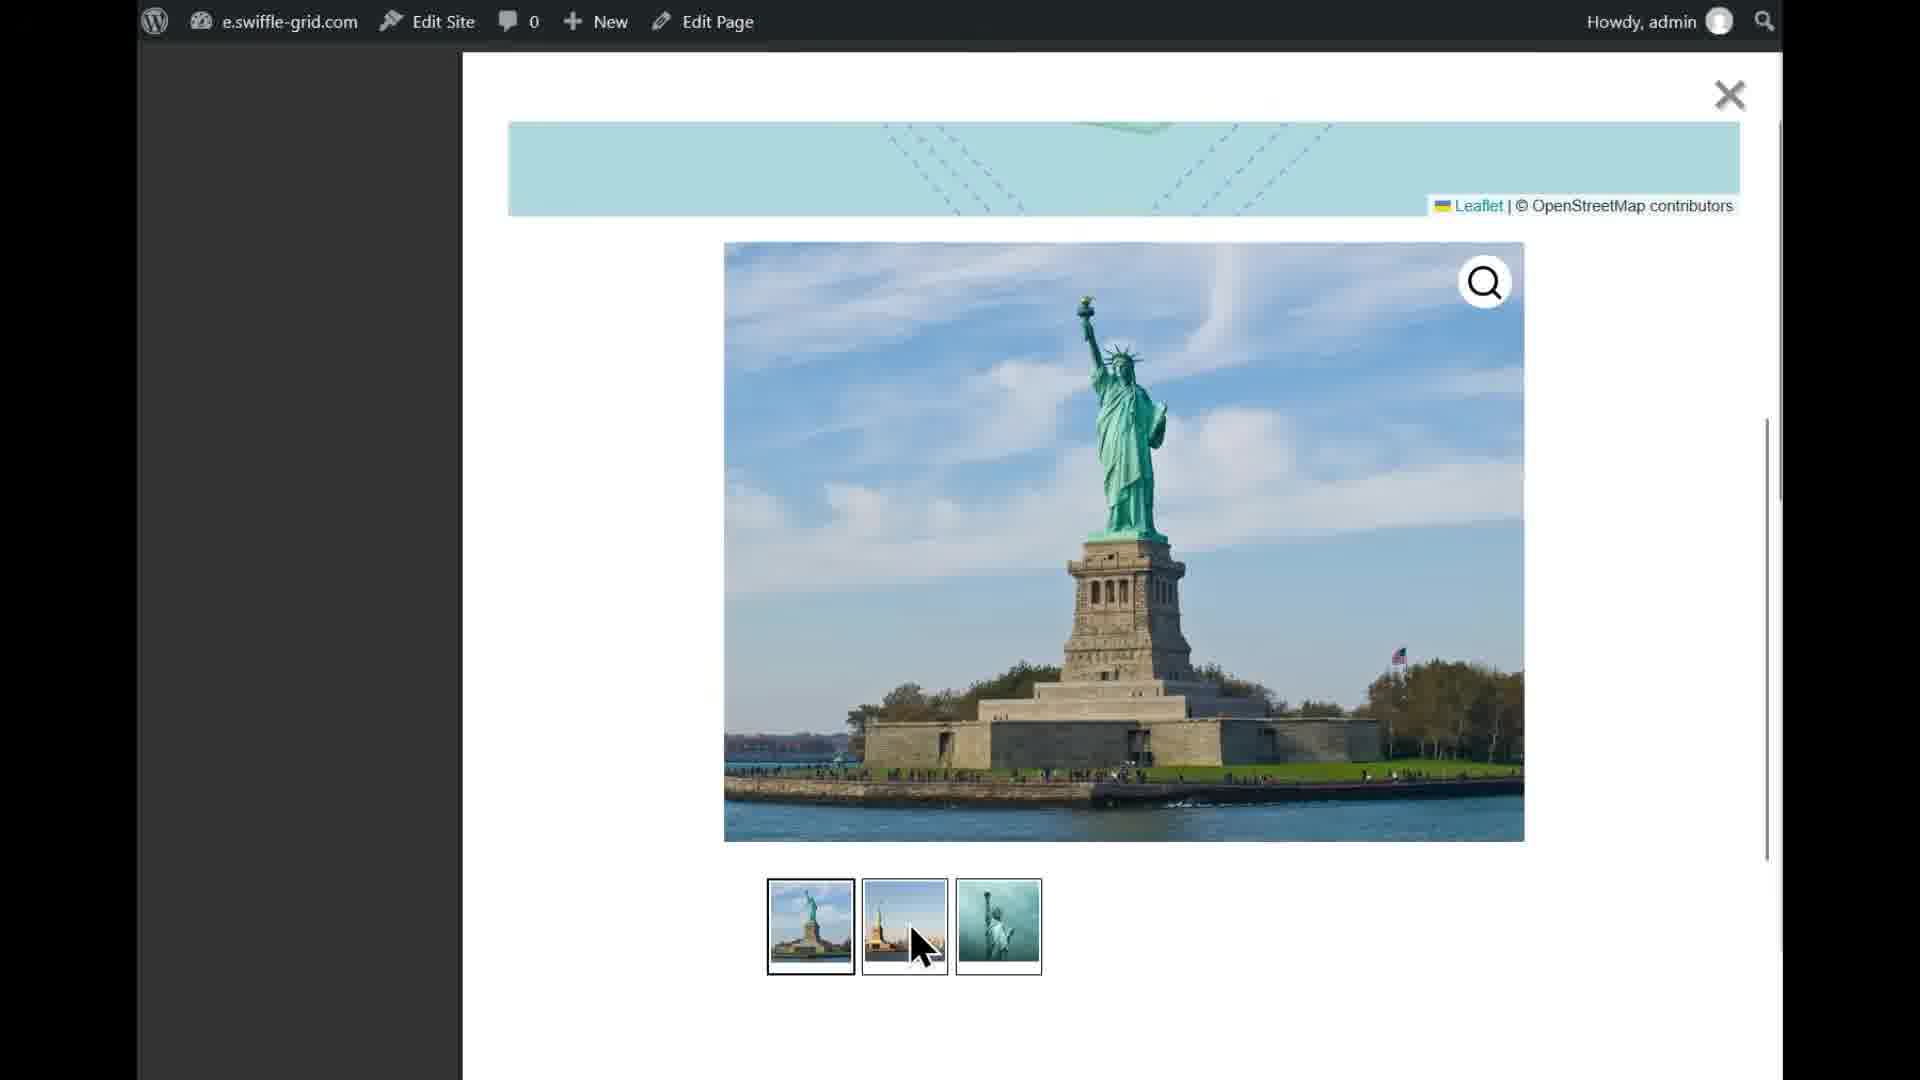
The gallery, with thumbnails to switch between photos.
Clicking the magnifier opens the photo full-screen, with arrows to browse through the whole gallery without leaving the lightbox.

Full-screen zoom, with previous/next navigation.