
How to Keep Dozens of Websites in Sync from a Single Excel File
Last updated: September 2026
This walks through the video above step by step, with a screenshot for each stage. The result: one Excel (XLSX) file in your WordPress Media Library feeds a grid that can be embedded on any number of external, non-WordPress sites — edit the file once, and every site using it updates automatically. This works entirely on the Free plan, no code required.
Step 1 — Prepare your Excel file
Build your data in a regular spreadsheet app — here, LibreOffice Calc. Name the columns using Swiffle Grid’s prefixes (TIT_, IMG_, CONTENT, MAP_, and so on) so the plugin knows what each one is for, then save the file as .xlsx.
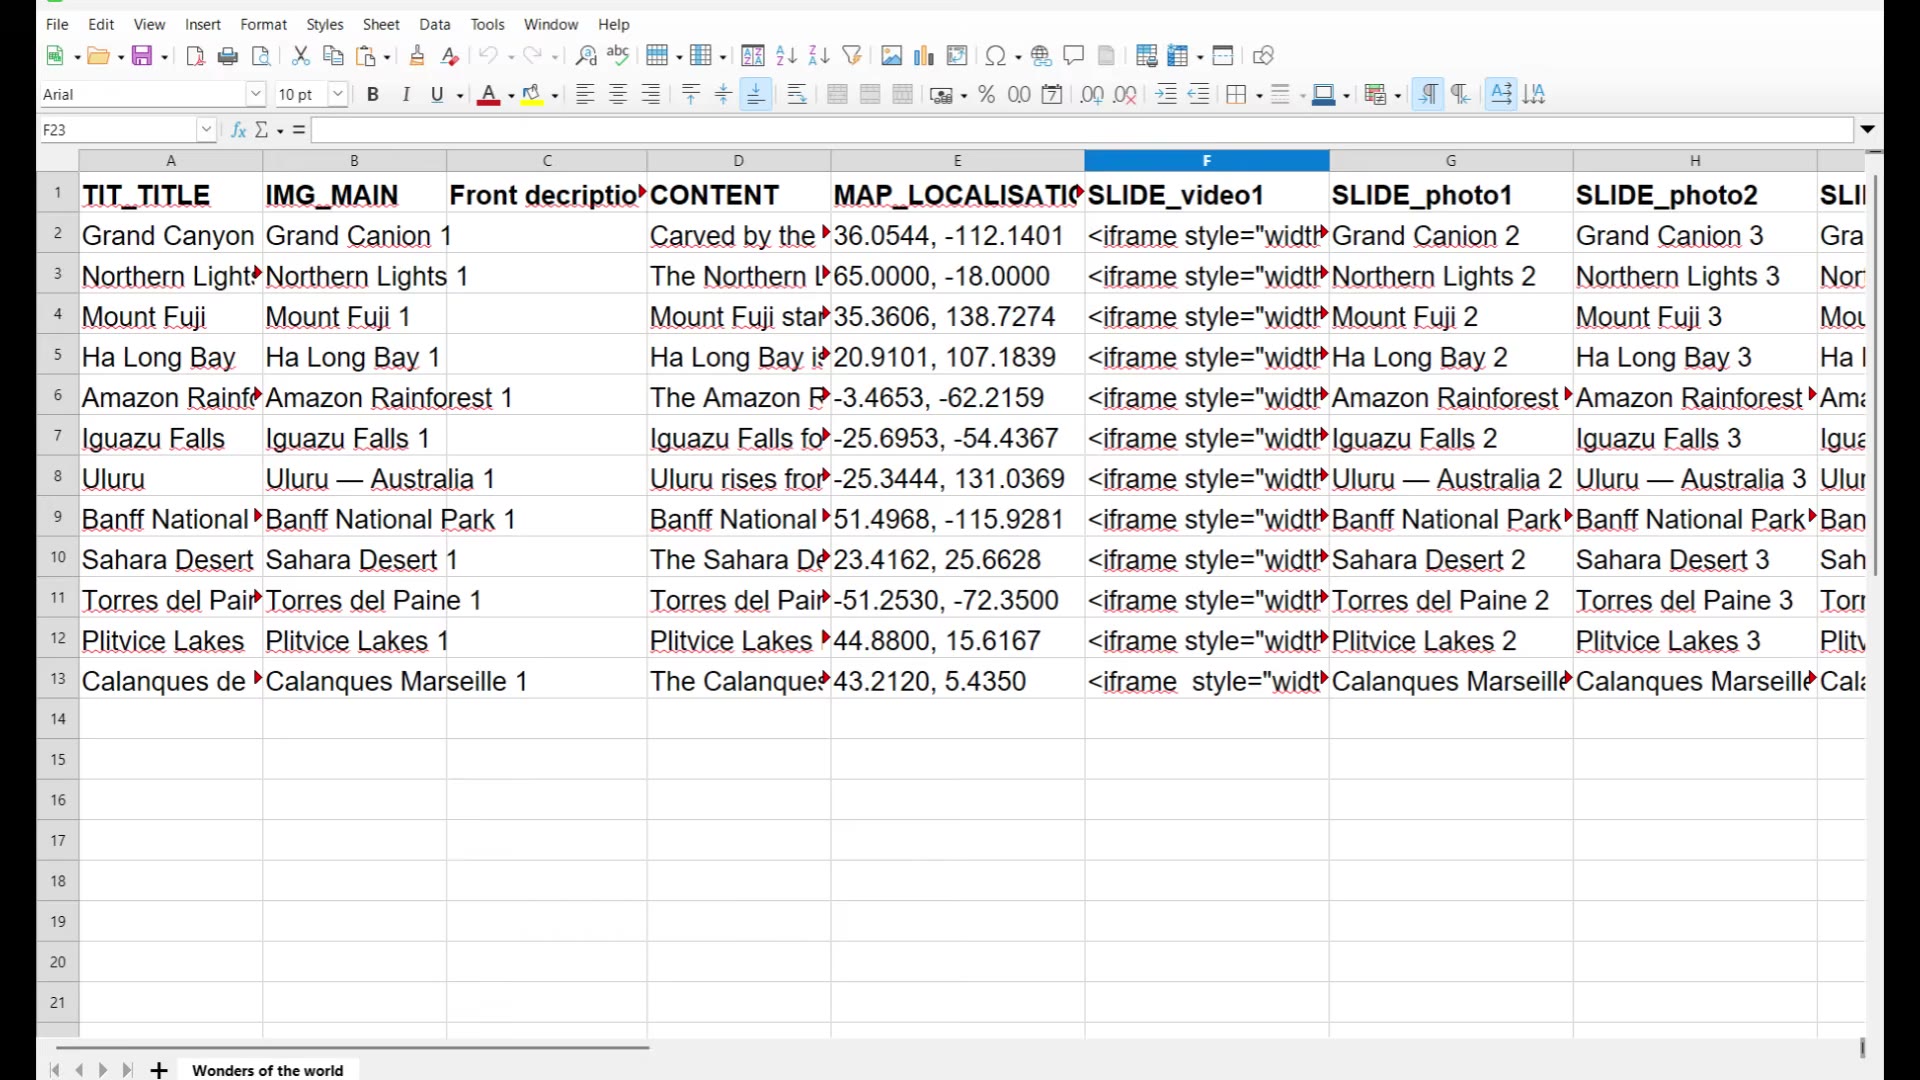
The source spreadsheet, with one row per card.
Step 2 — Upload it to the Media Library
In WordPress, go to Media → Add Media File and upload the XLSX file. It’s now stored in your Media Library like any other file.
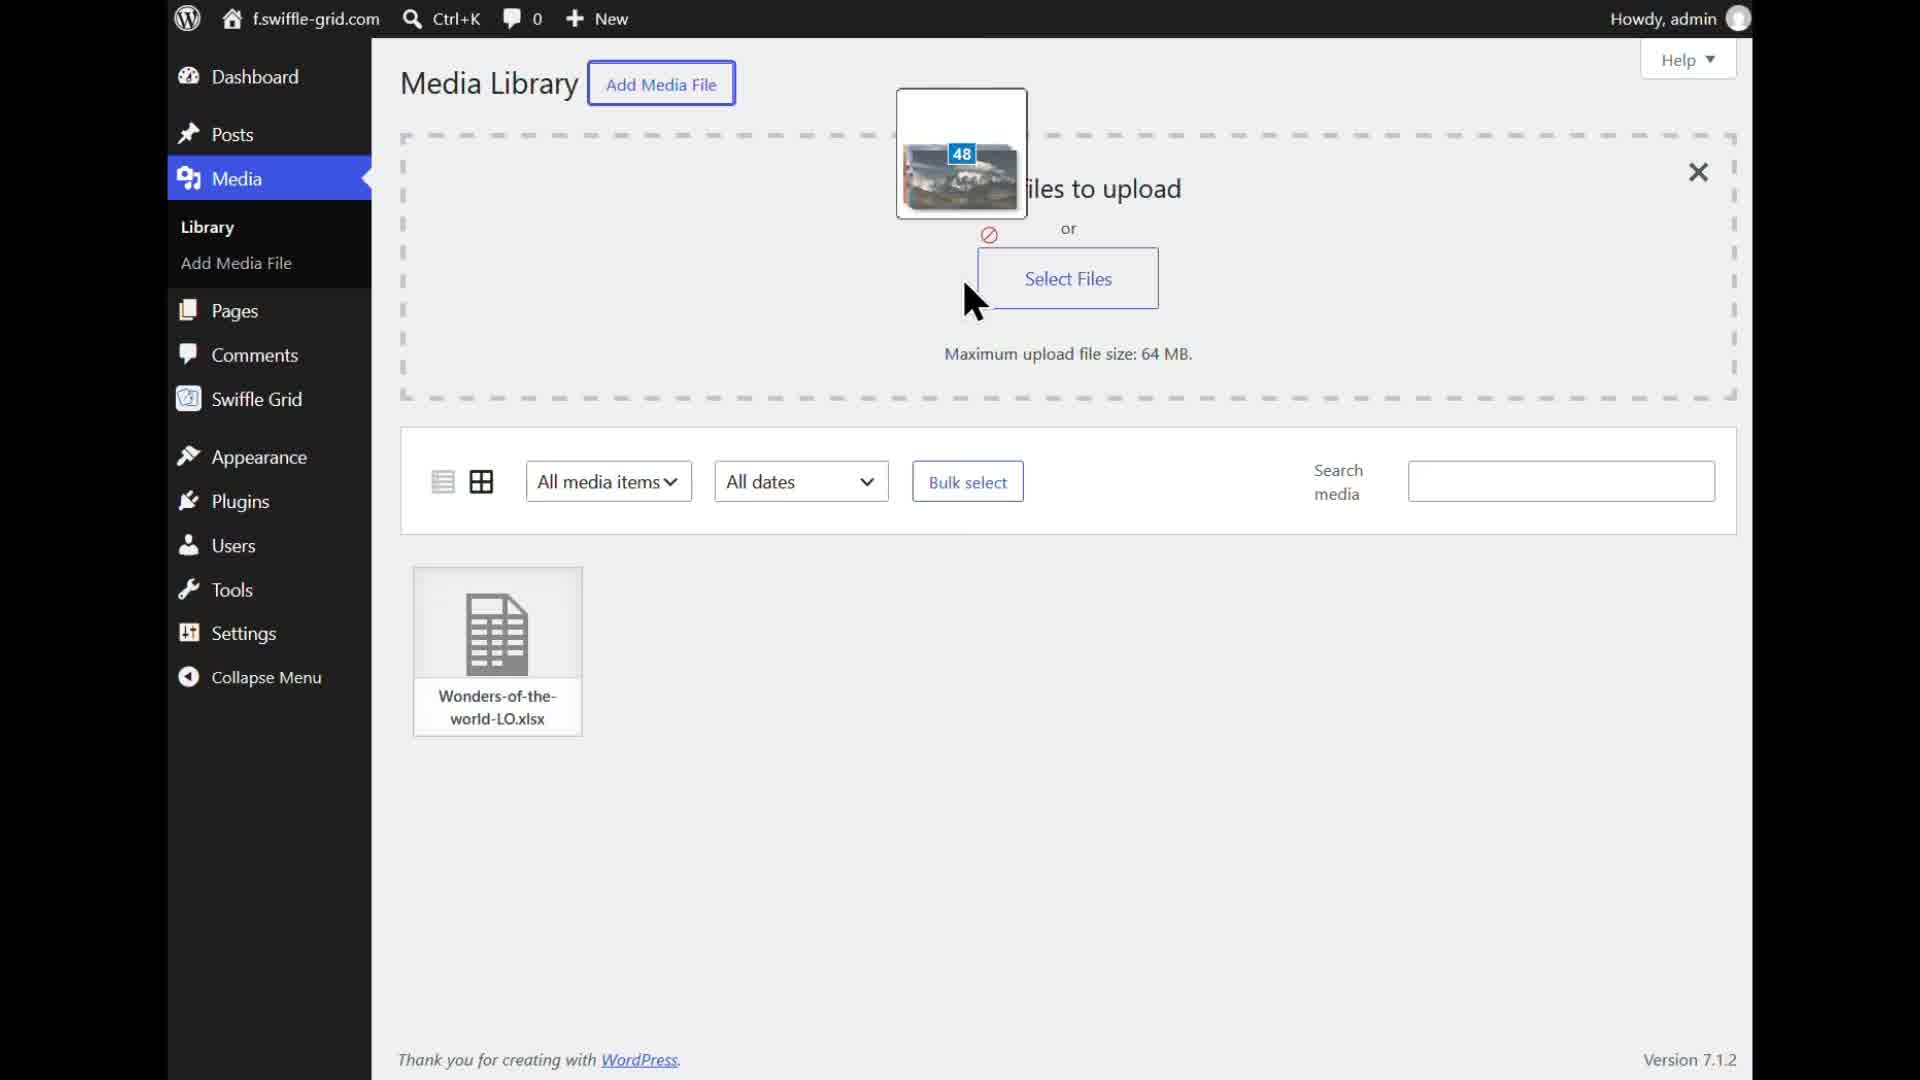
The XLSX file, uploaded to the Media Library.
Step 3 — Connect it to a Swiffle Grid block
Add a Swiffle Grid block to a page, set its Data source to XLSX, and select the file you just uploaded. The grid renders immediately from the spreadsheet’s content.
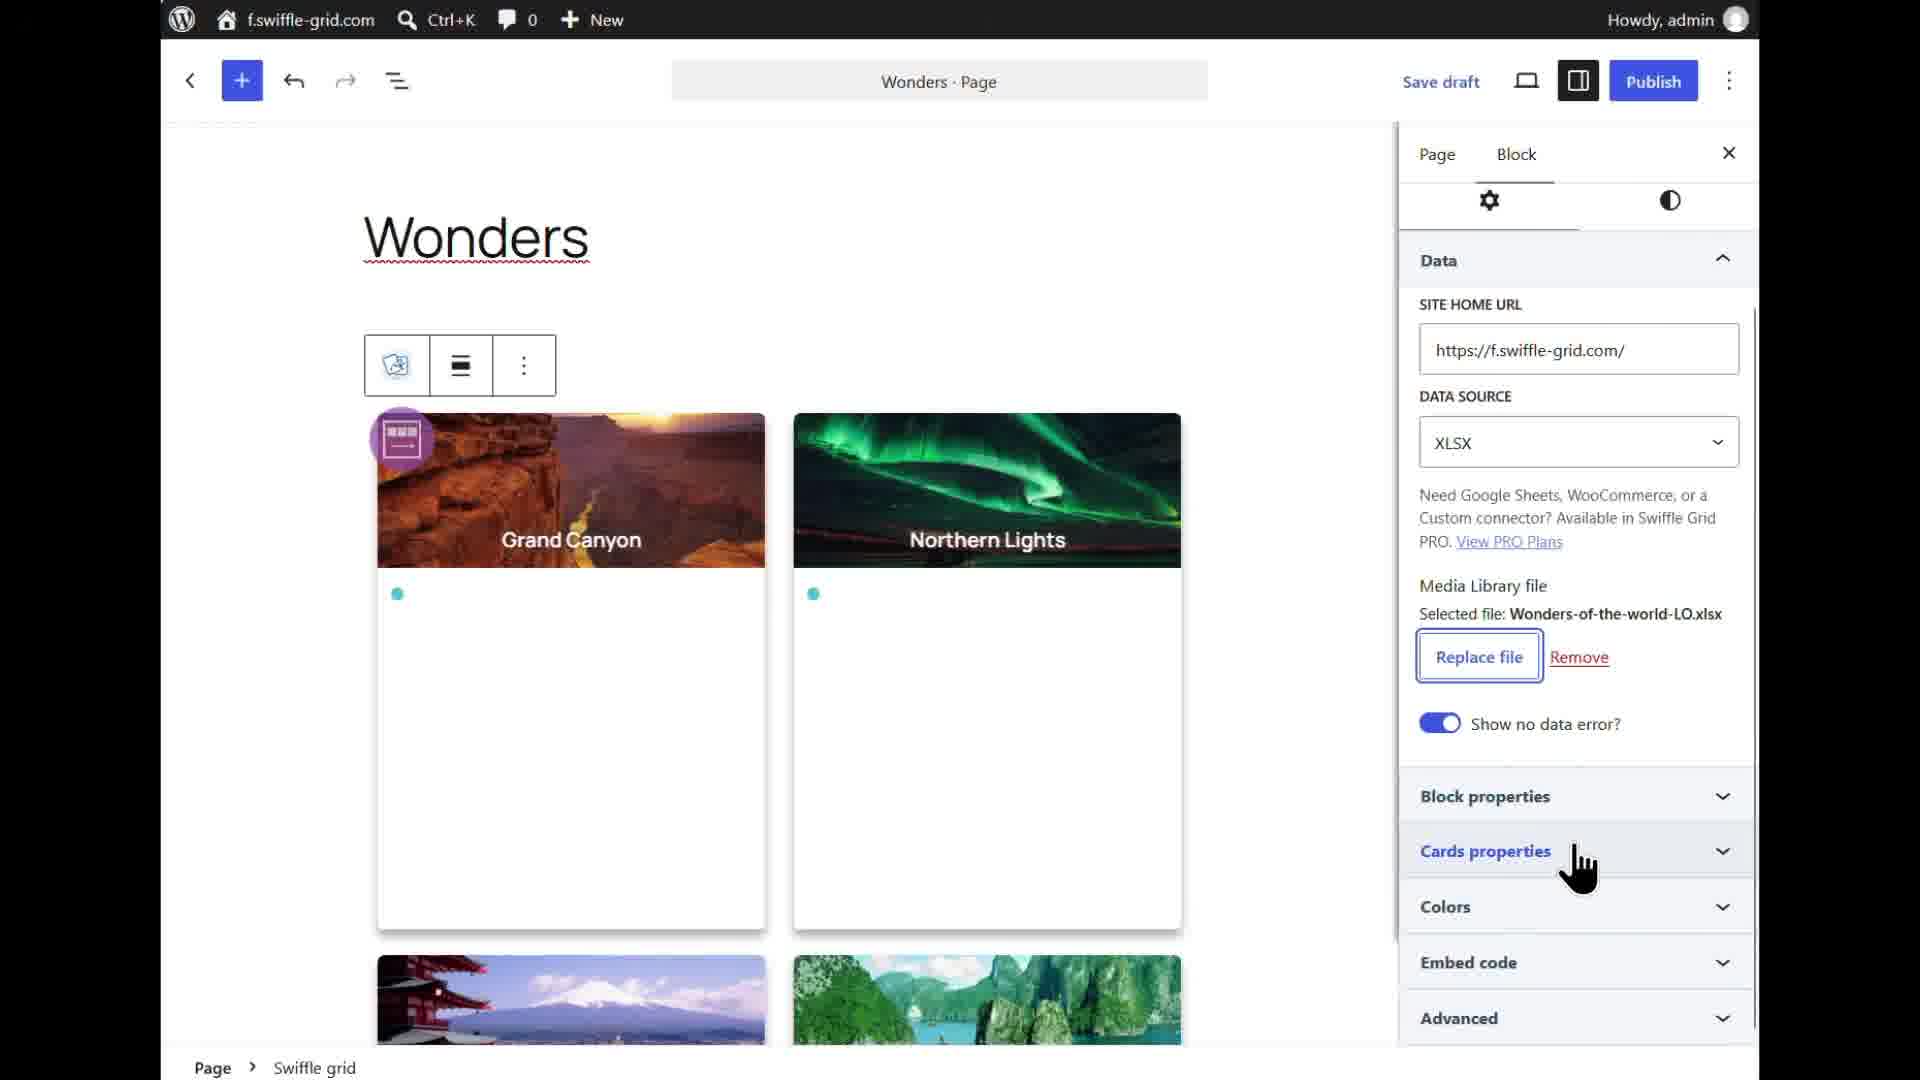
The block’s Data panel, with the XLSX file selected.
Step 4 — Copy the embed code
Open the block’s Embed code tab and click Copy the code. This generates a self-contained HTML snippet for the grid you just configured.
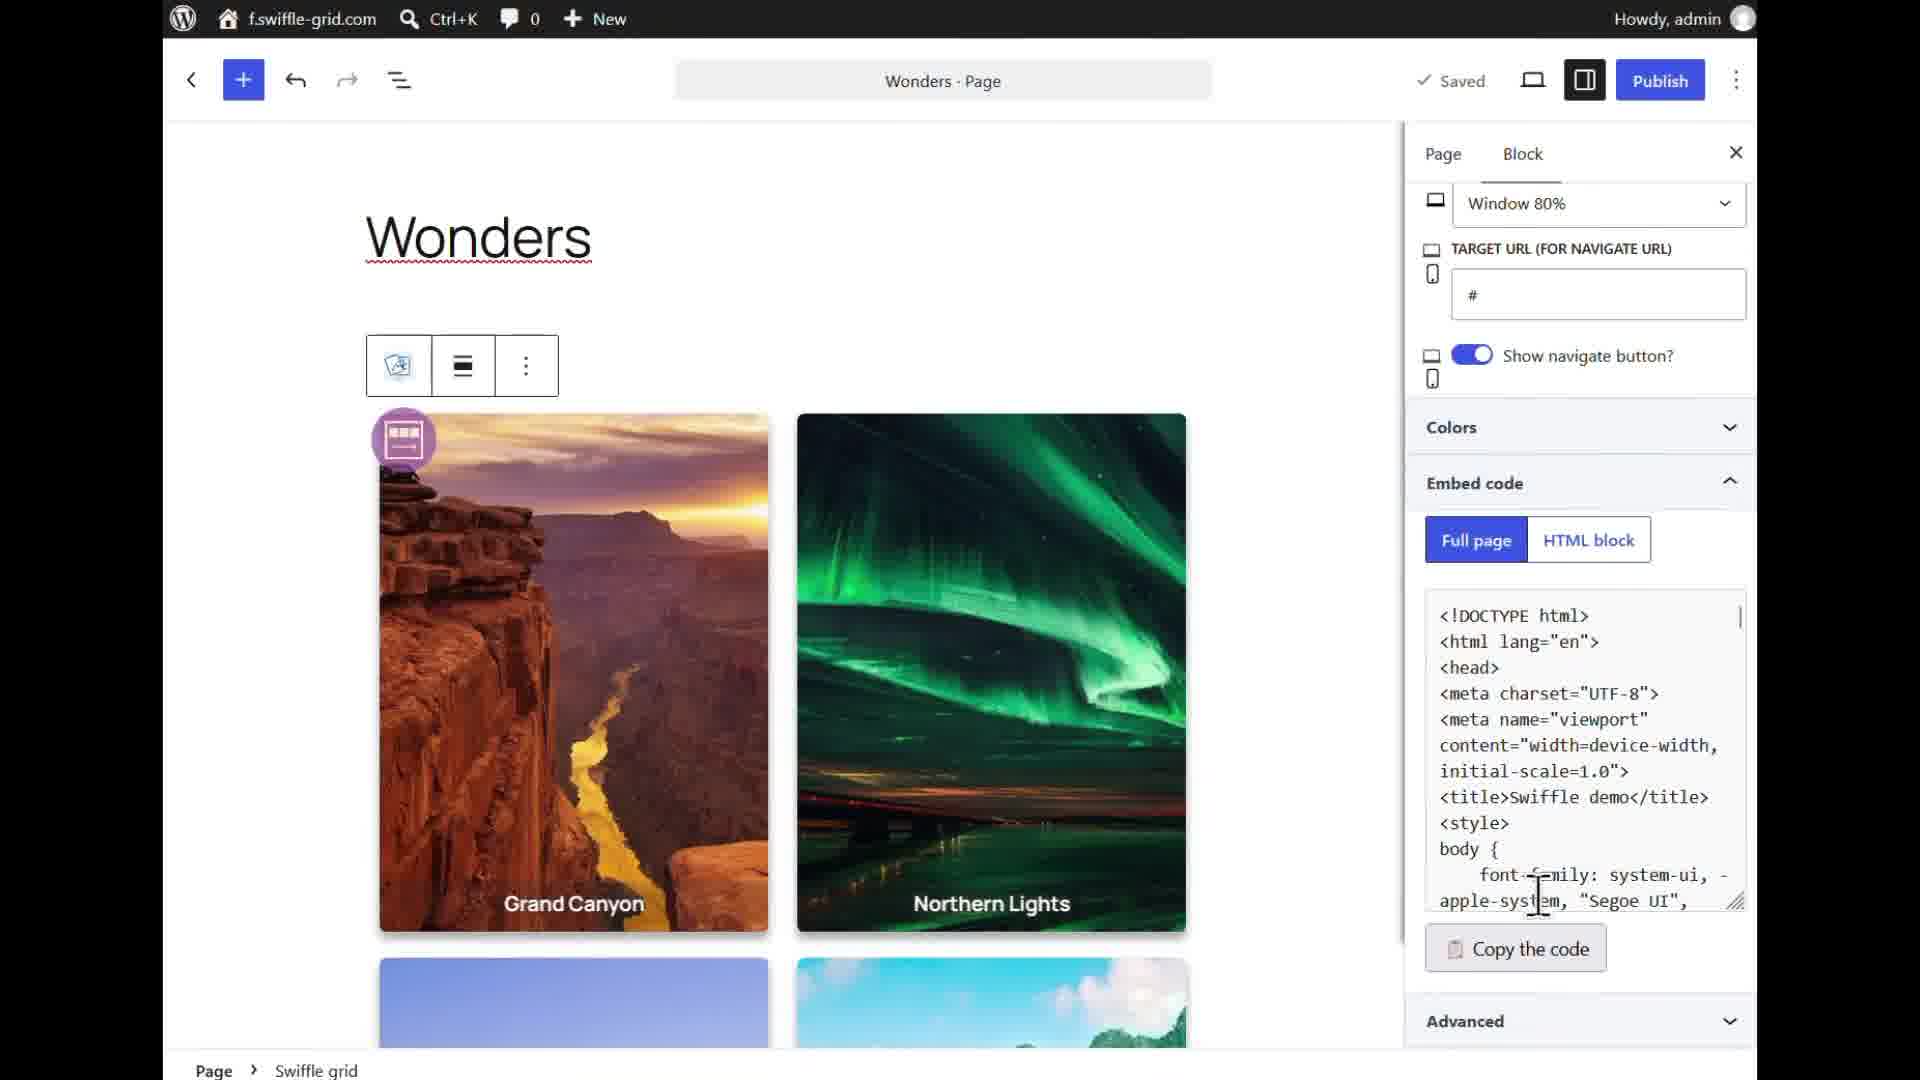
The Embed code tab, ready to copy.
Step 5 — Paste it into any other site
Paste the copied code into a page on a completely different, non-WordPress site and save. The grid will pull its data live from the XLSX file sitting in your WordPress Media Library.
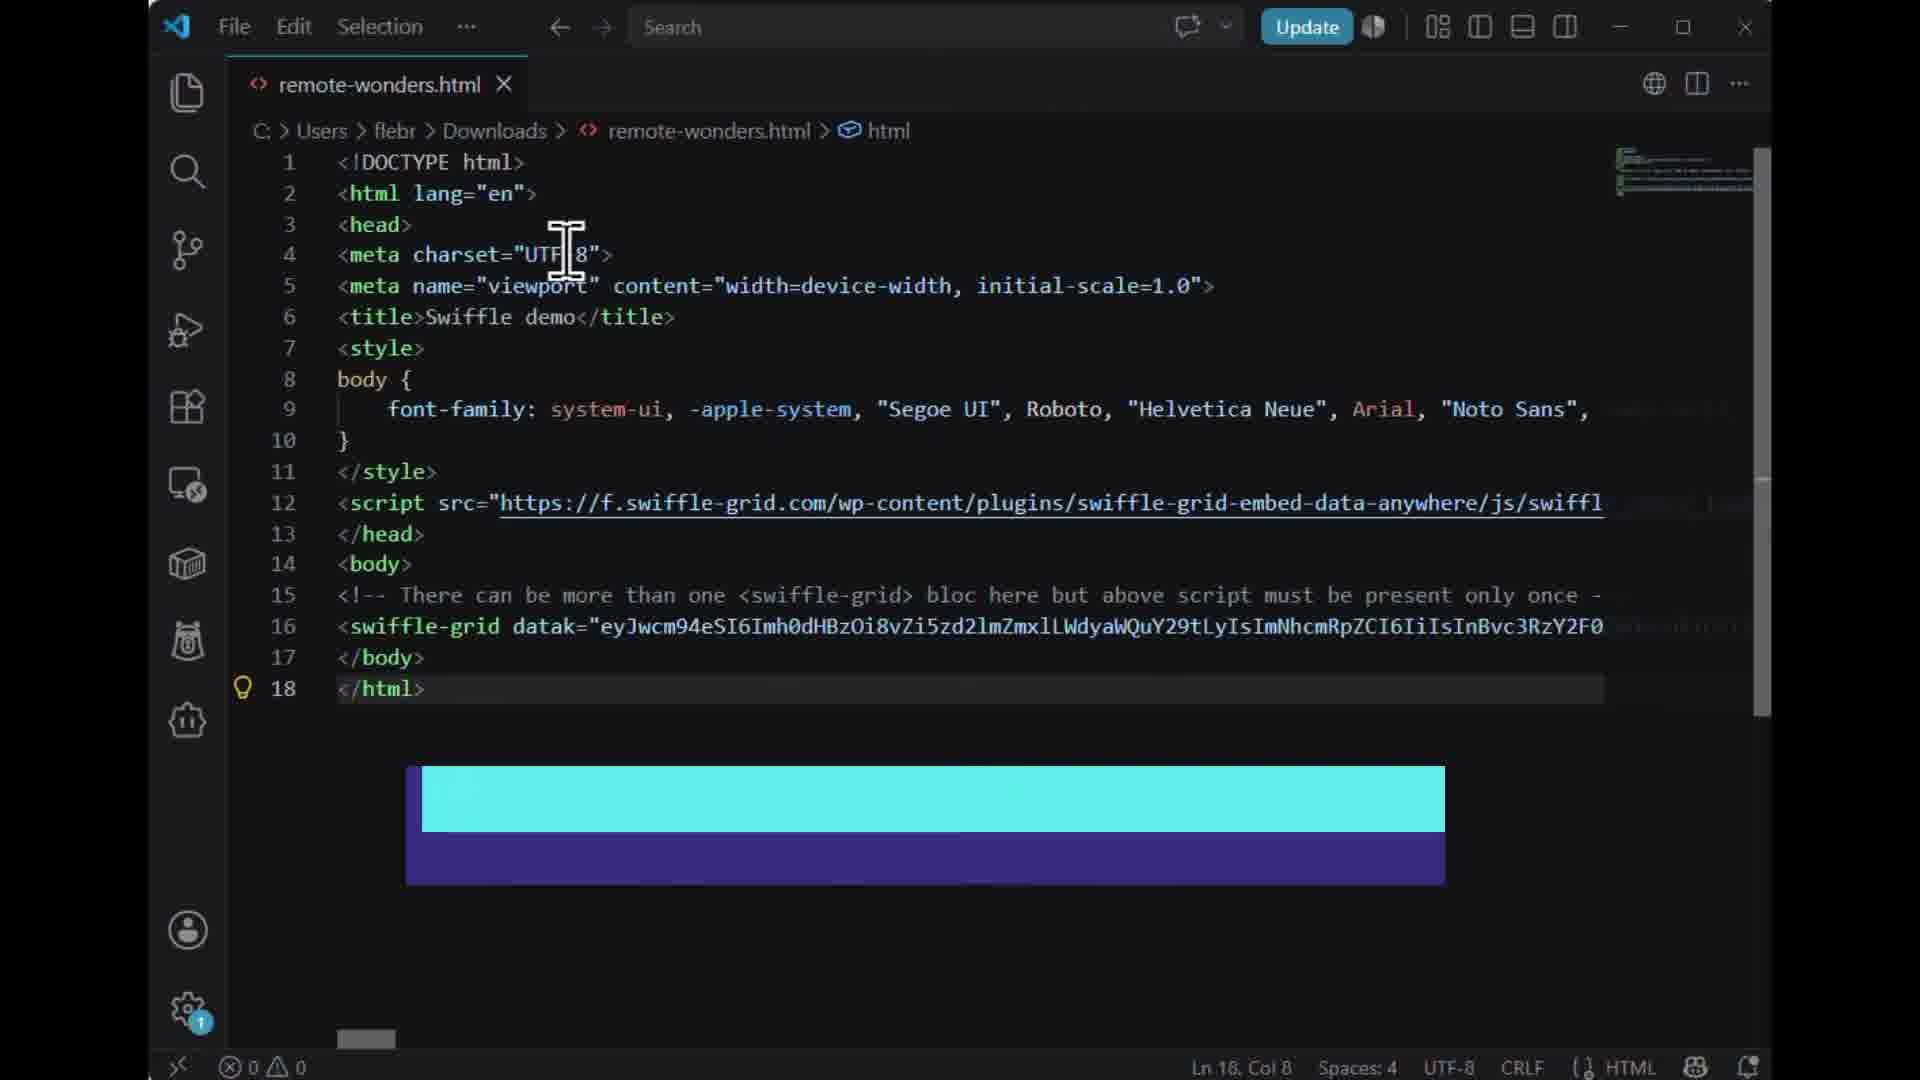
The embed snippet, pasted into an external page.
Step 6 — Allow the remote URL
Back in the WordPress admin, open the Swiffle Grid settings, add the external site’s URL under URLs allowed to embed, and check XLSX files under Allowed sources. Only checked sources are exposed to that URL.
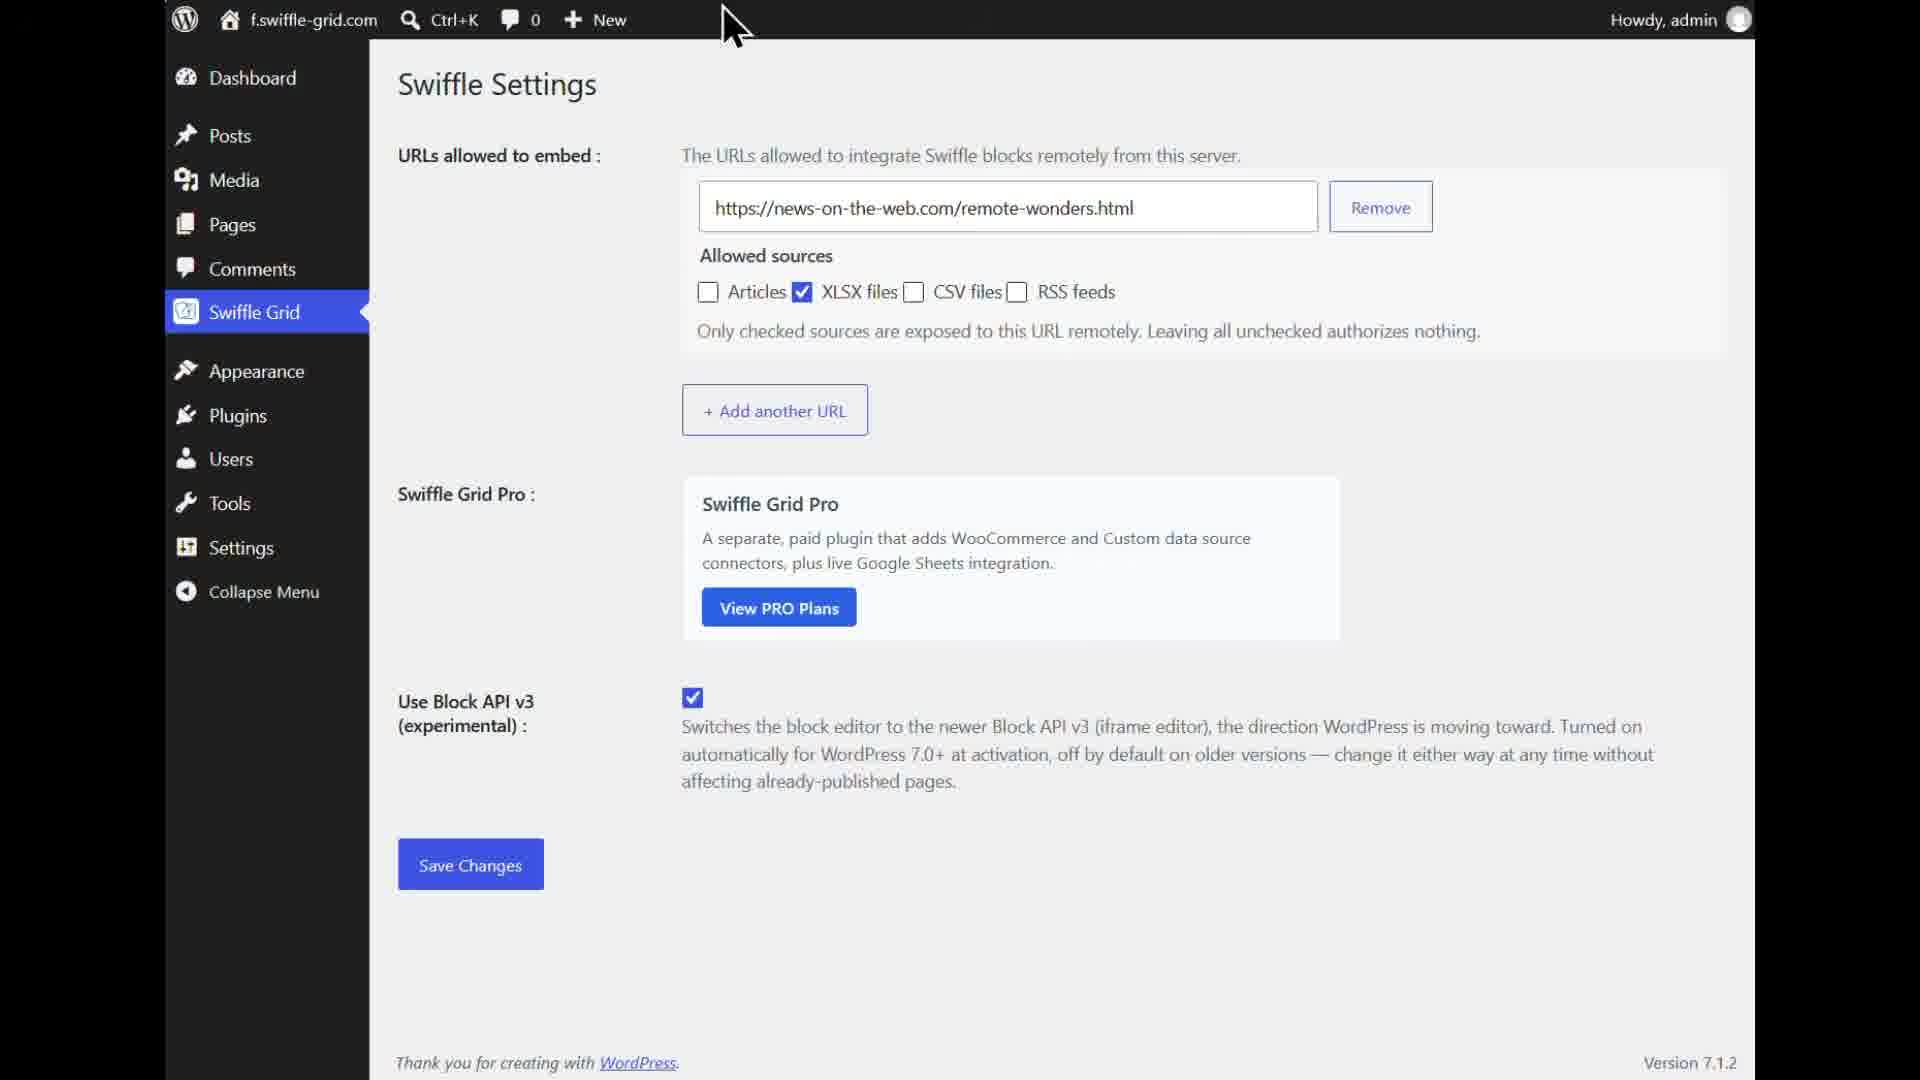
Adding the external site’s URL to the allow list.
Step 7 — Edit the spreadsheet, then re-upload it under the same name
Open the XLSX file again, change a value — here, a card’s title — and save it. Go back to Media → Add Media File and upload the edited file using the exact same file name. WordPress stores it as a new file (adding -1 to avoid overwriting the original), and Swiffle Grid automatically picks up the most recently uploaded version everywhere the file is used.
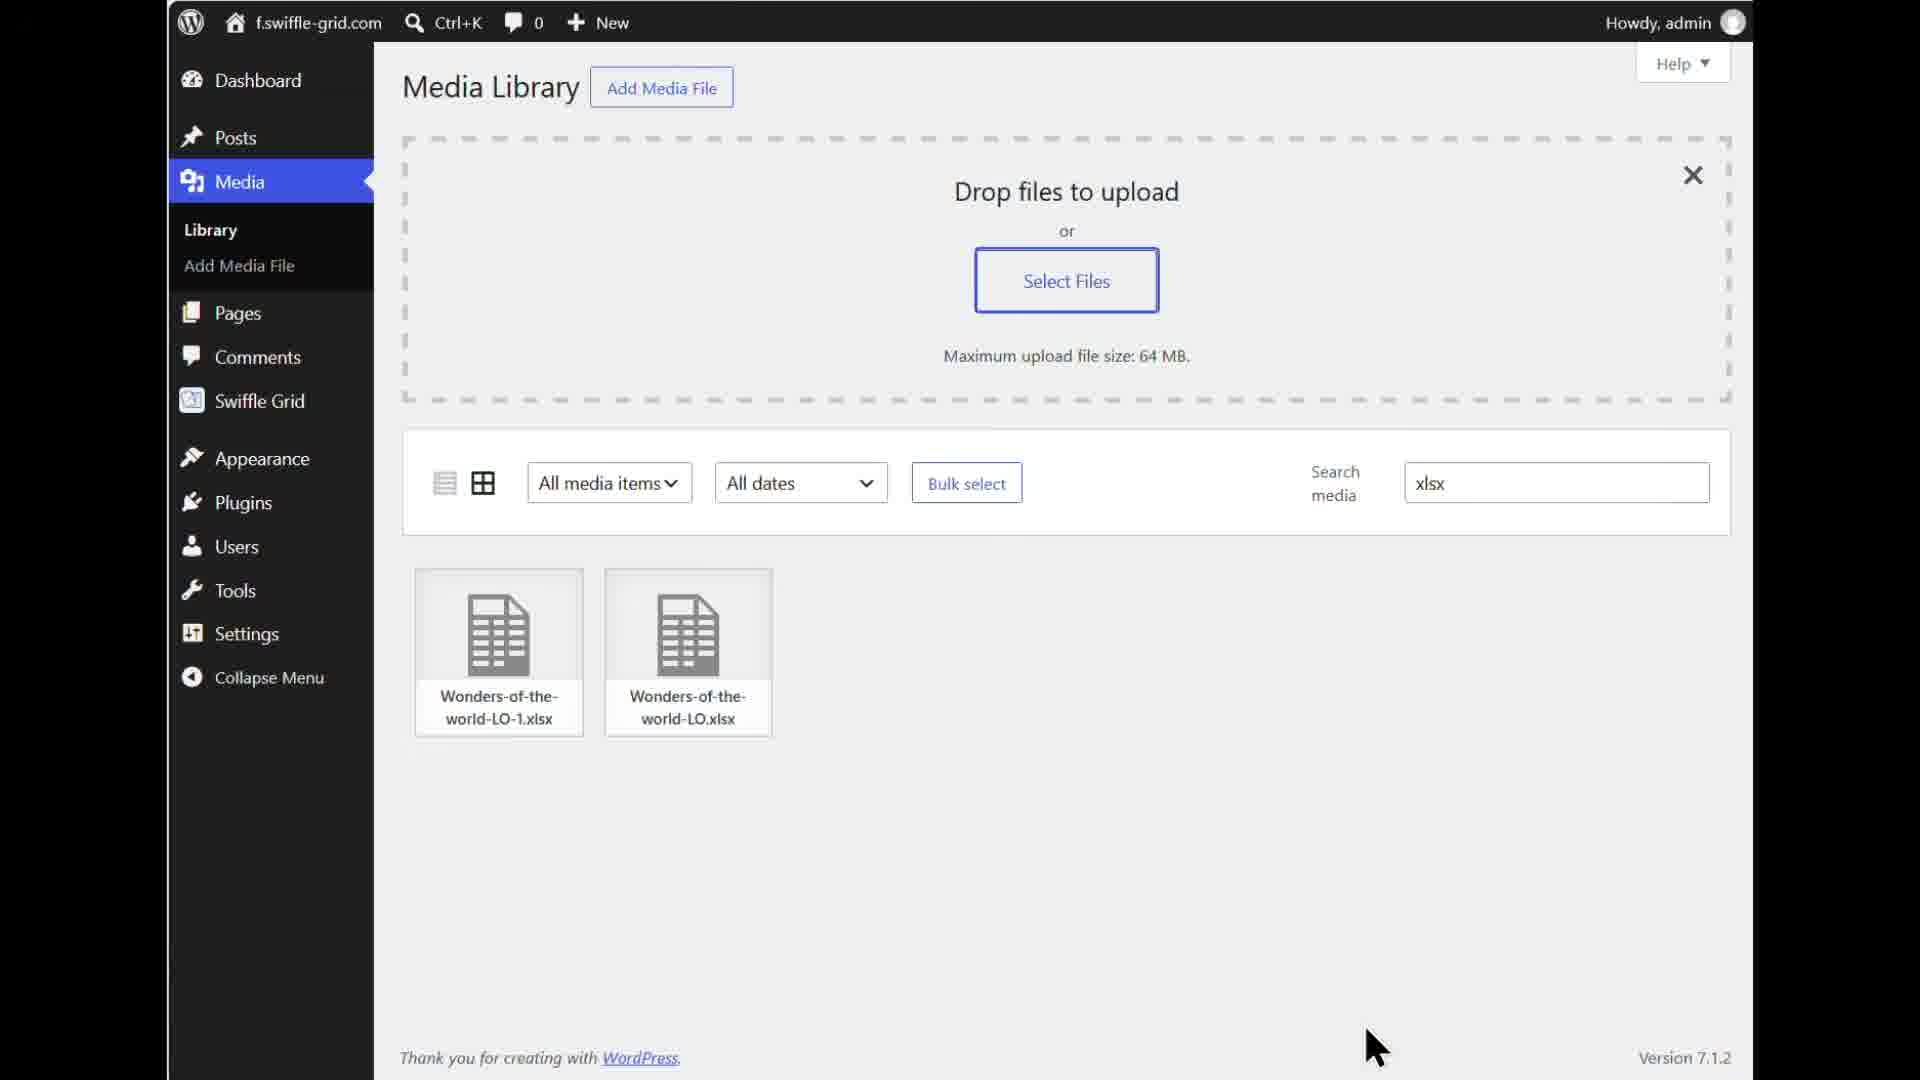
Both versions in the Media Library — the newest one wins.
ℹ️ Re-uploading under the same name — rather than editing the existing file in place — is what triggers the update. See the CSV, Excel & Google Sheets Column Reference for the full mechanics.
Step 8 — Replace an image the same way
The same trick works for images. Here, the Grand Canyon photo is edited in GIMP — this could be a crop, a color adjustment, or adding a label — and exported under its original file name.

Editing the image before re-uploading it.
Step 9 — Re-upload the image under the same name
Upload the edited image to the Media Library using the same file name as the original, exactly like in Step 7. No block setting needs to change — the grid keeps pointing at the same image reference.
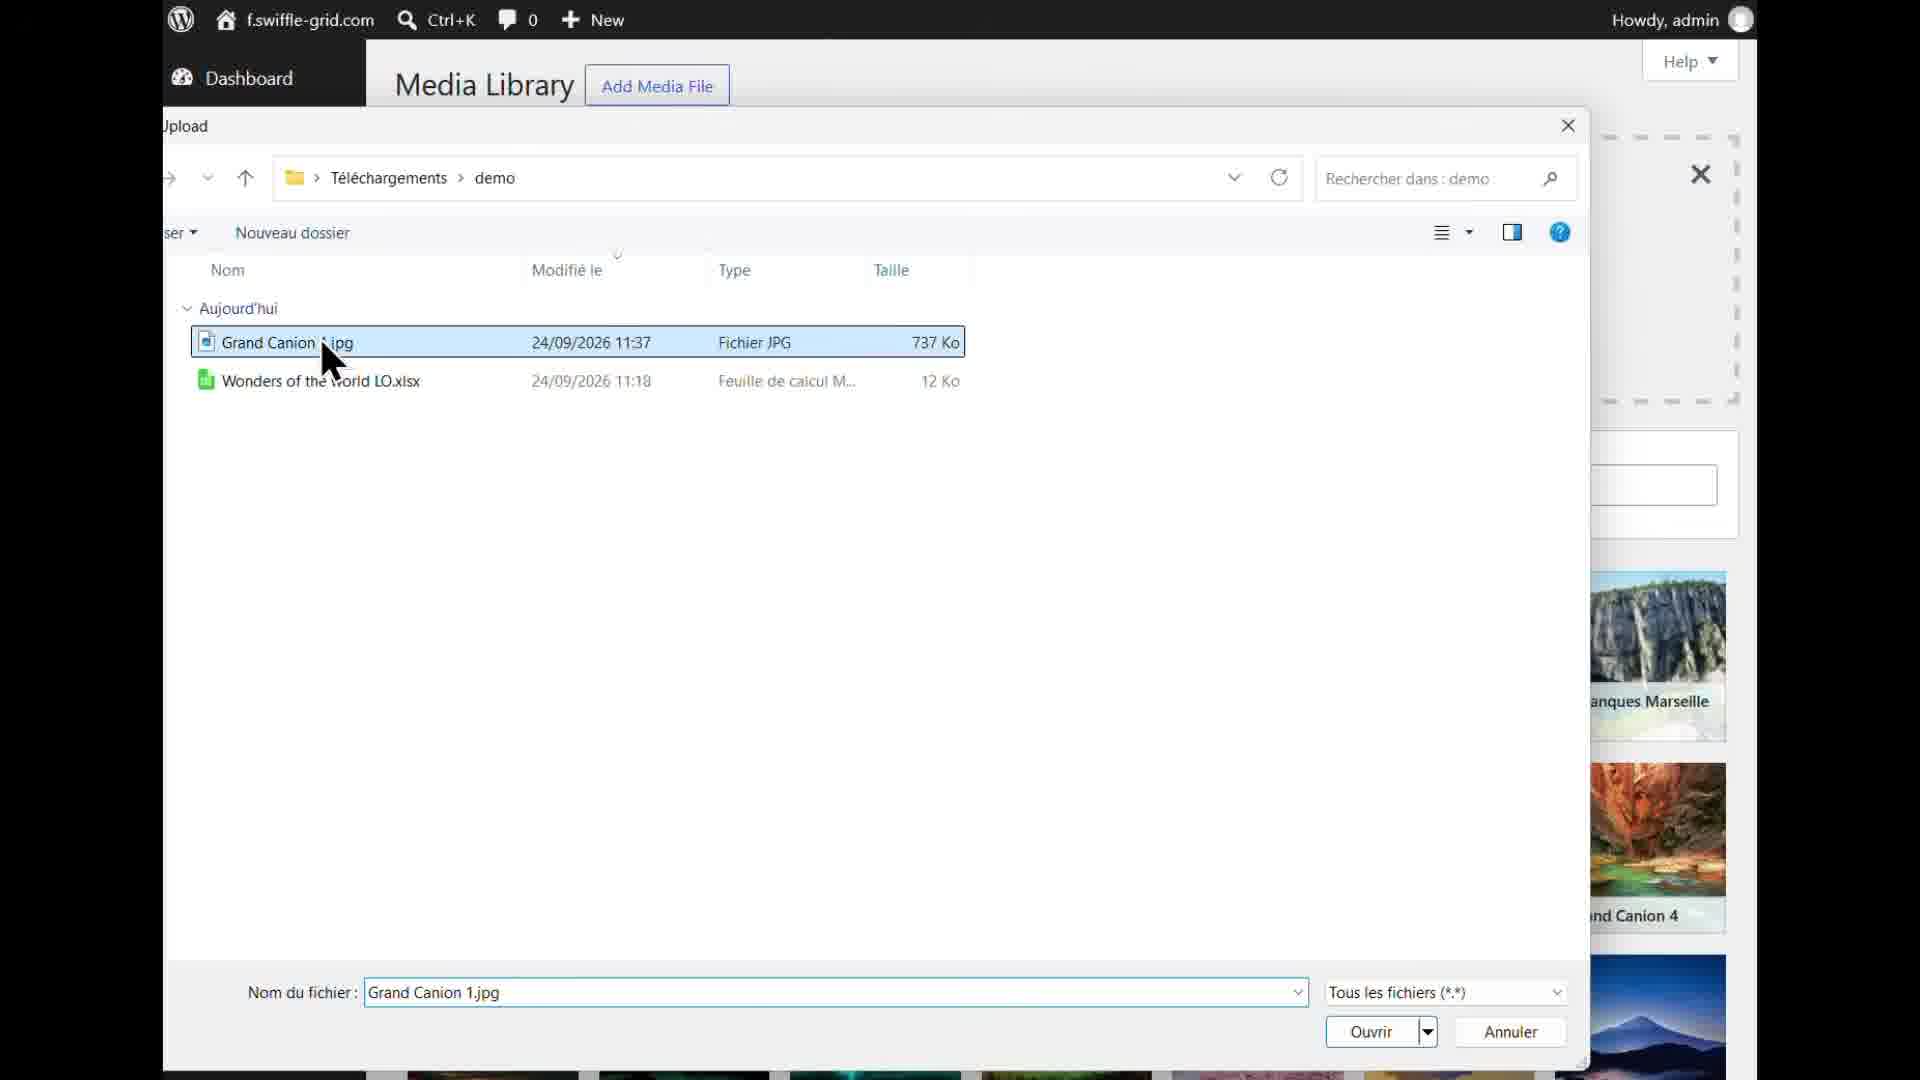
Selecting the edited image for upload.
Result
Without touching the external HTML page at all, both the title and the image update everywhere the grid is embedded — including on the completely separate, non-WordPress site. Update the file once in your Media Library, and every site using it stays in sync.
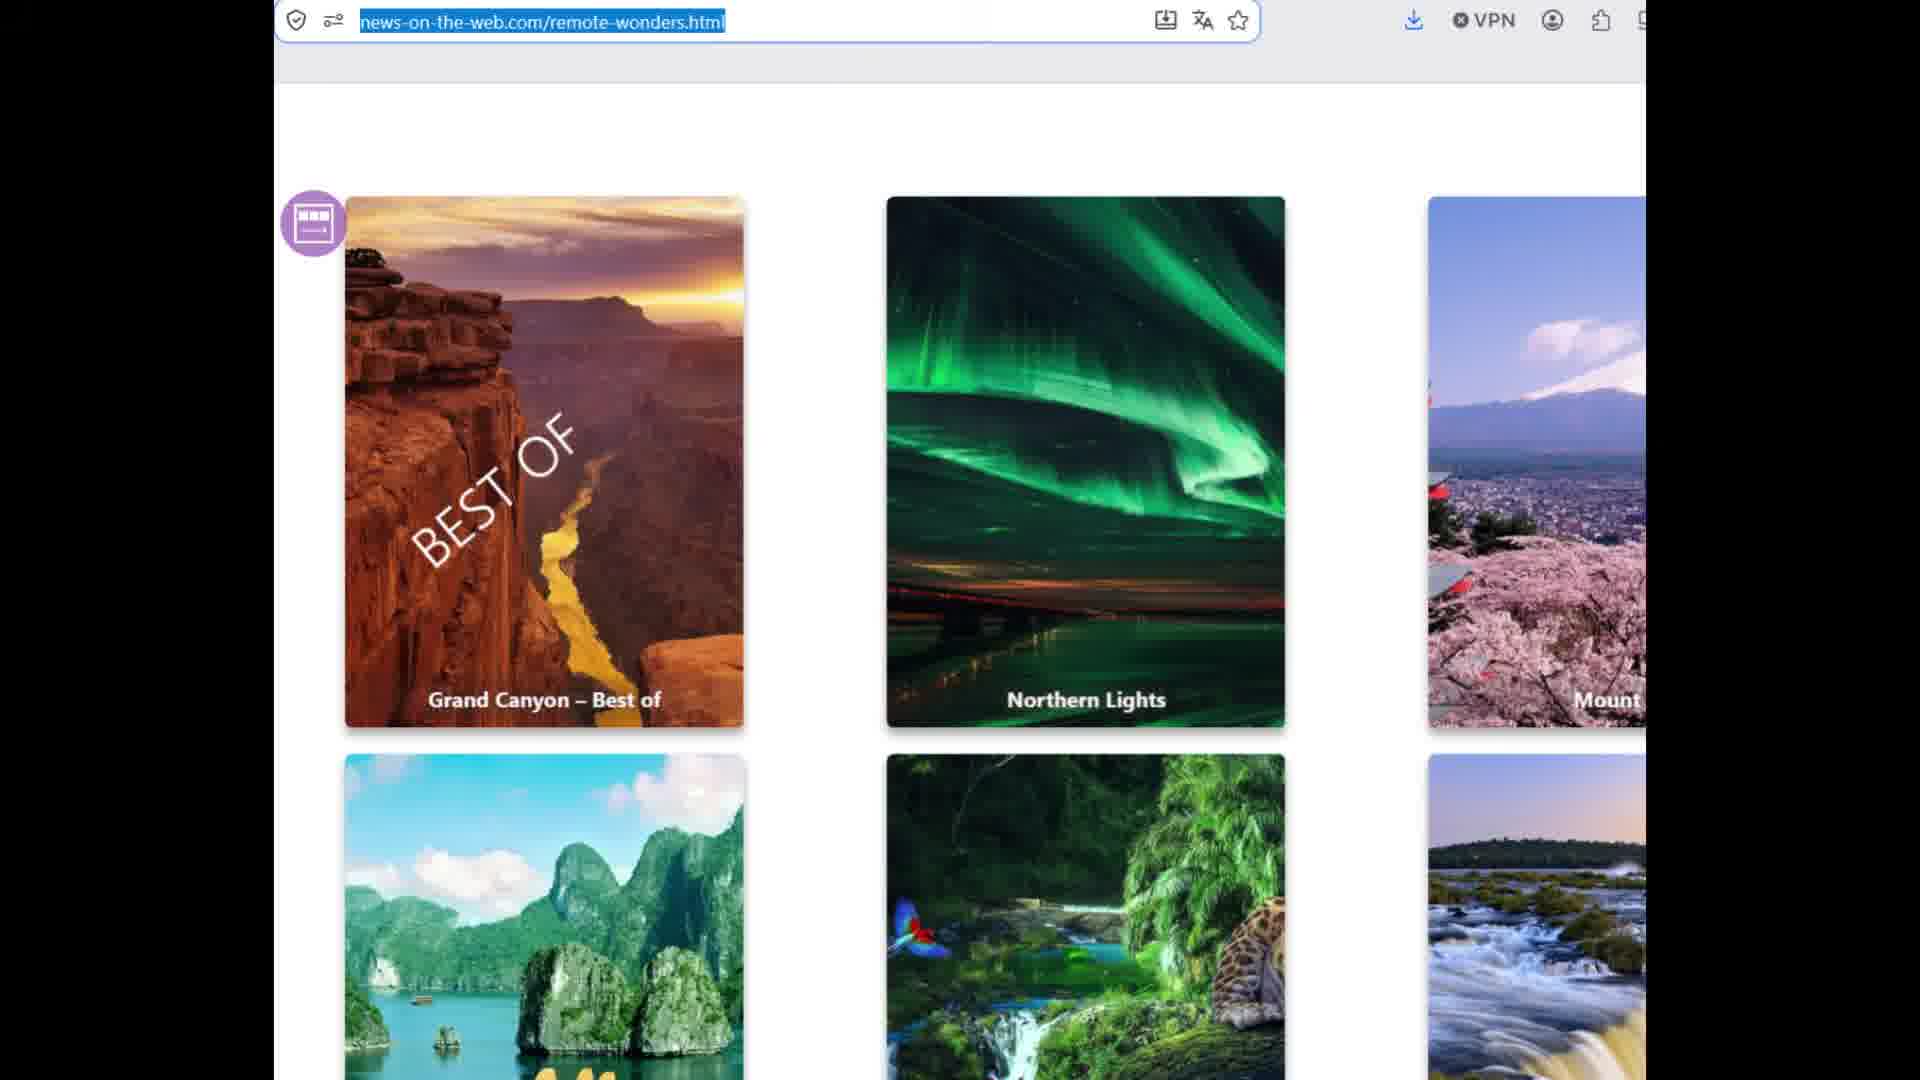
The external site, already showing the new title and image.