
Getting Started with Swiffle Grid PRO
Welcome to this tutorial. Let’s walk through the steps to choose your Swiffle Grid plan and get everything set up.
Step 1 — Choose Your Plan
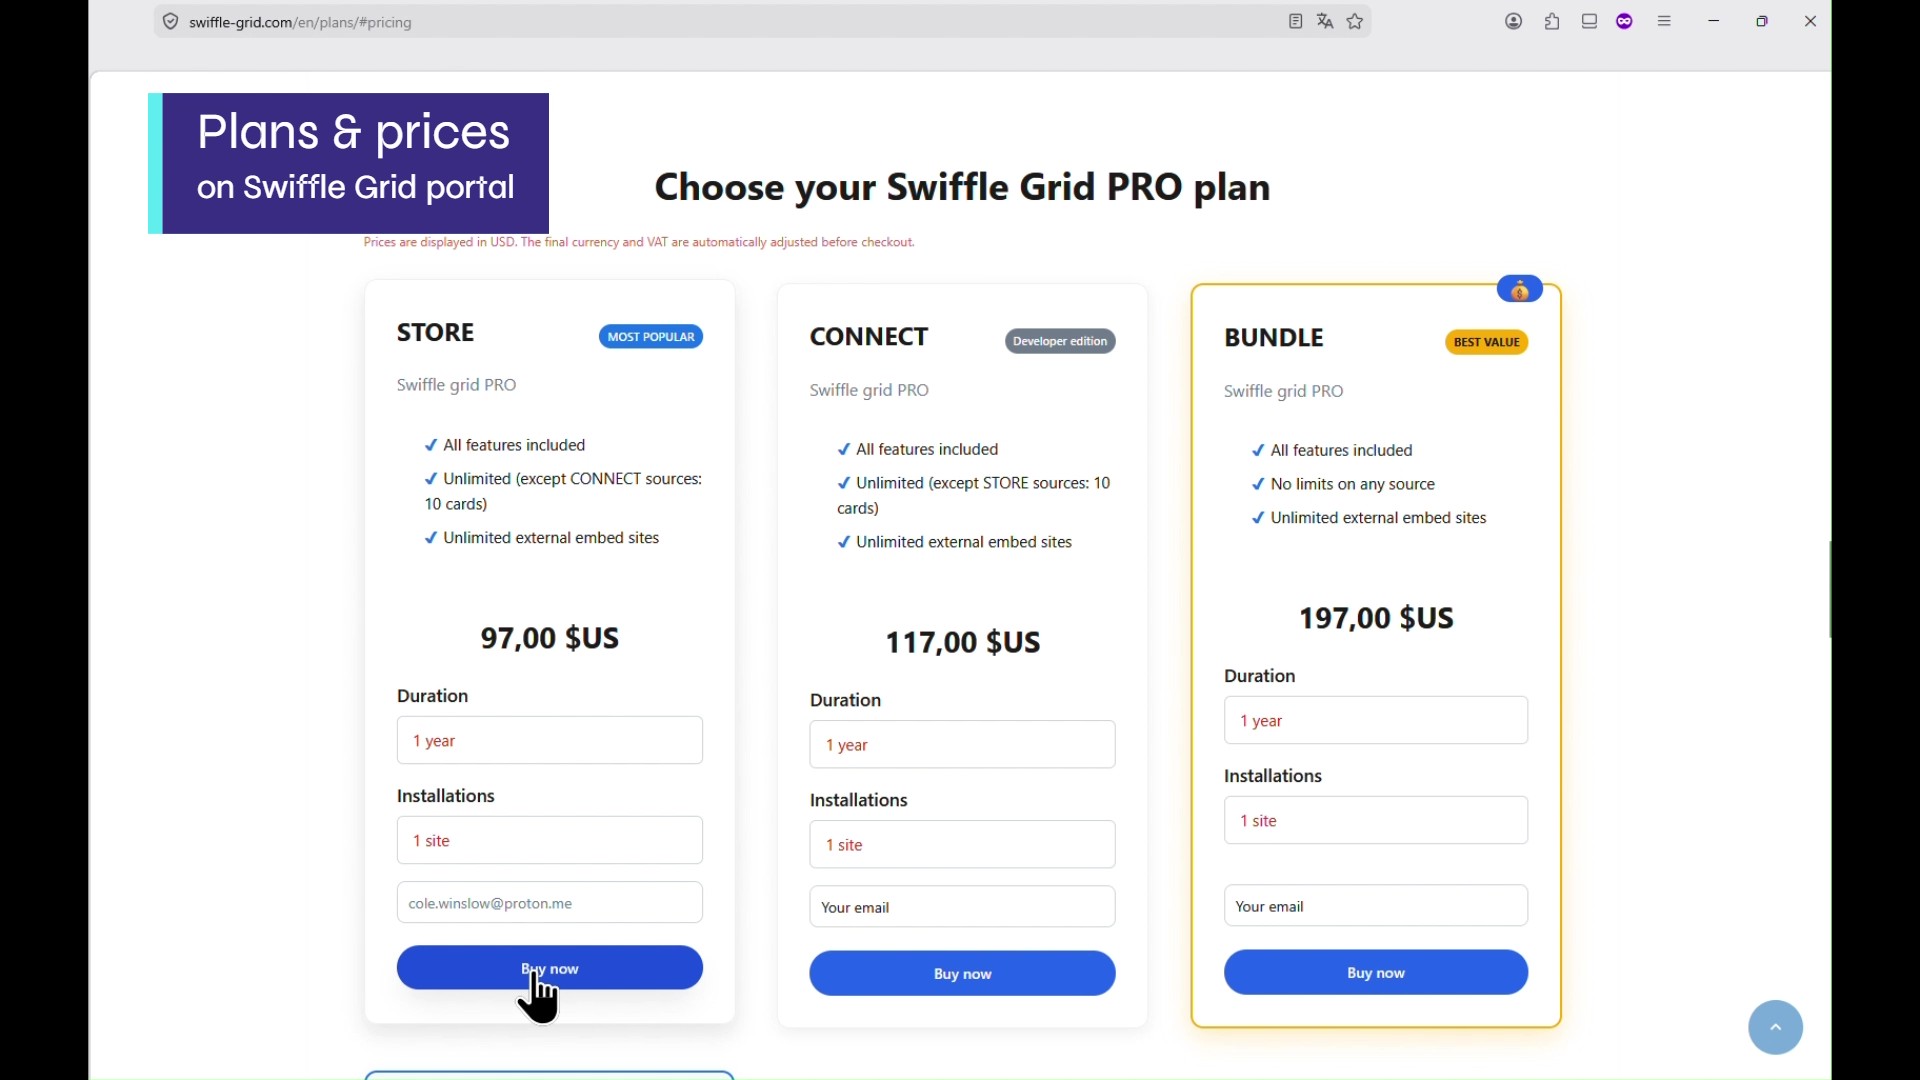
Navigate to the Plans page in the Swiffle Grid portal, choose the plan that fits your needs, enter your email, and click Buy now.
Step 2 — Validate Your Email
Follow the steps to validate your mail by code. After validating your email, you’ll be redirected to the Dodo Payments checkout.
Step 3 — Enter Your Billing Information
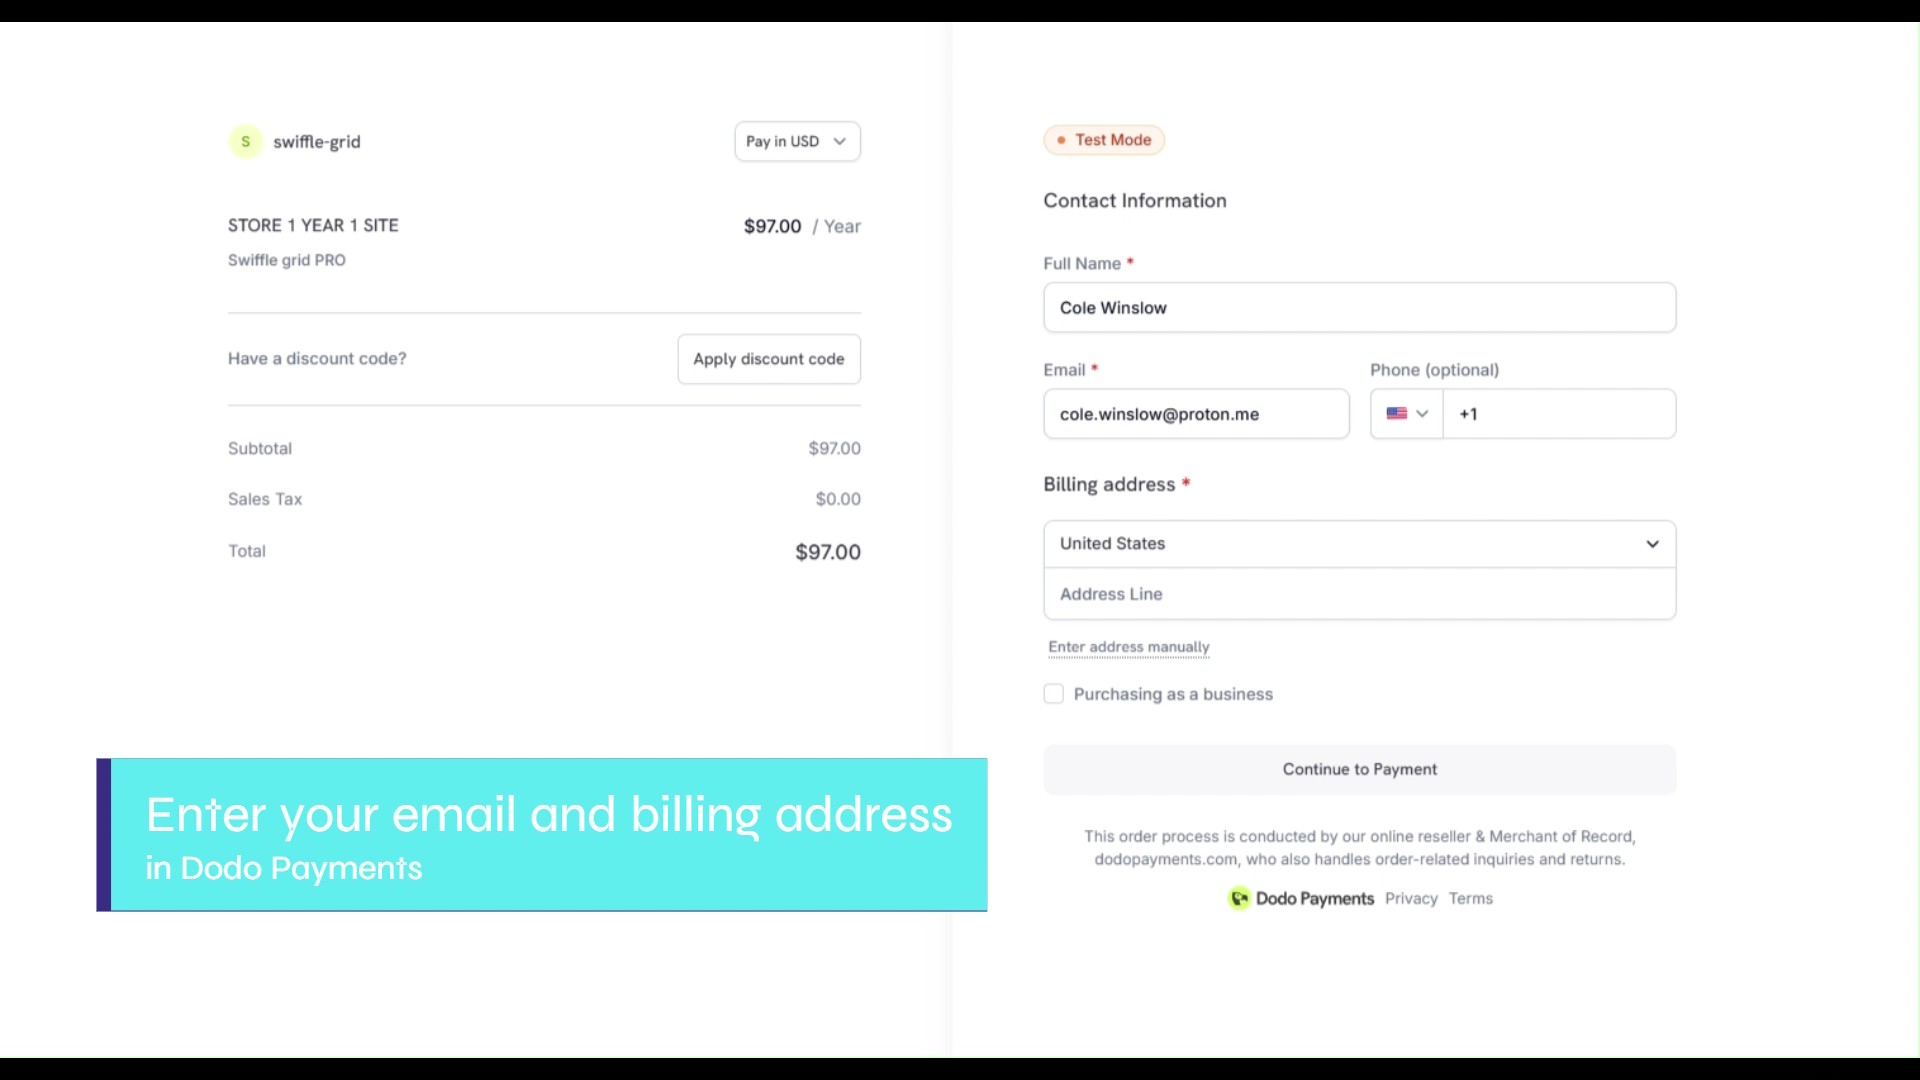
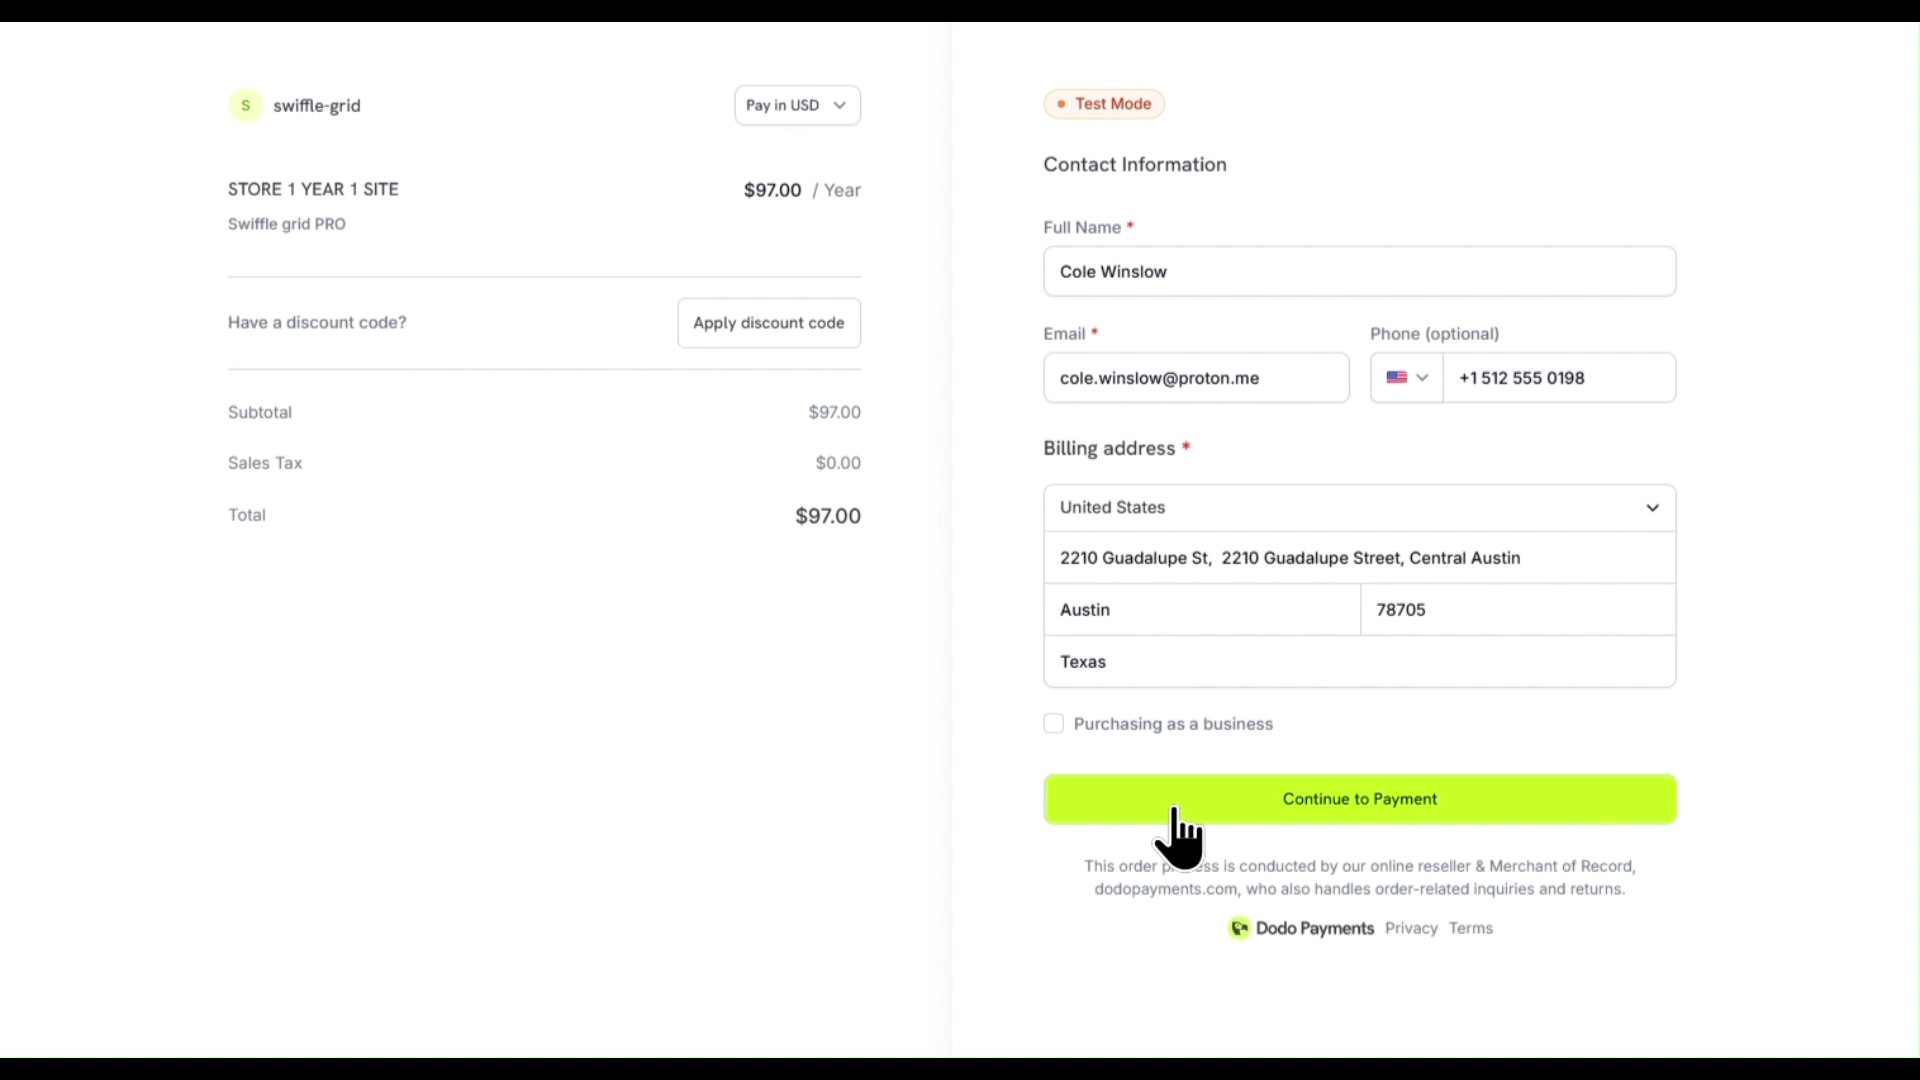
Enter your phone number and billing address.
Step 4 — Complete the Payment
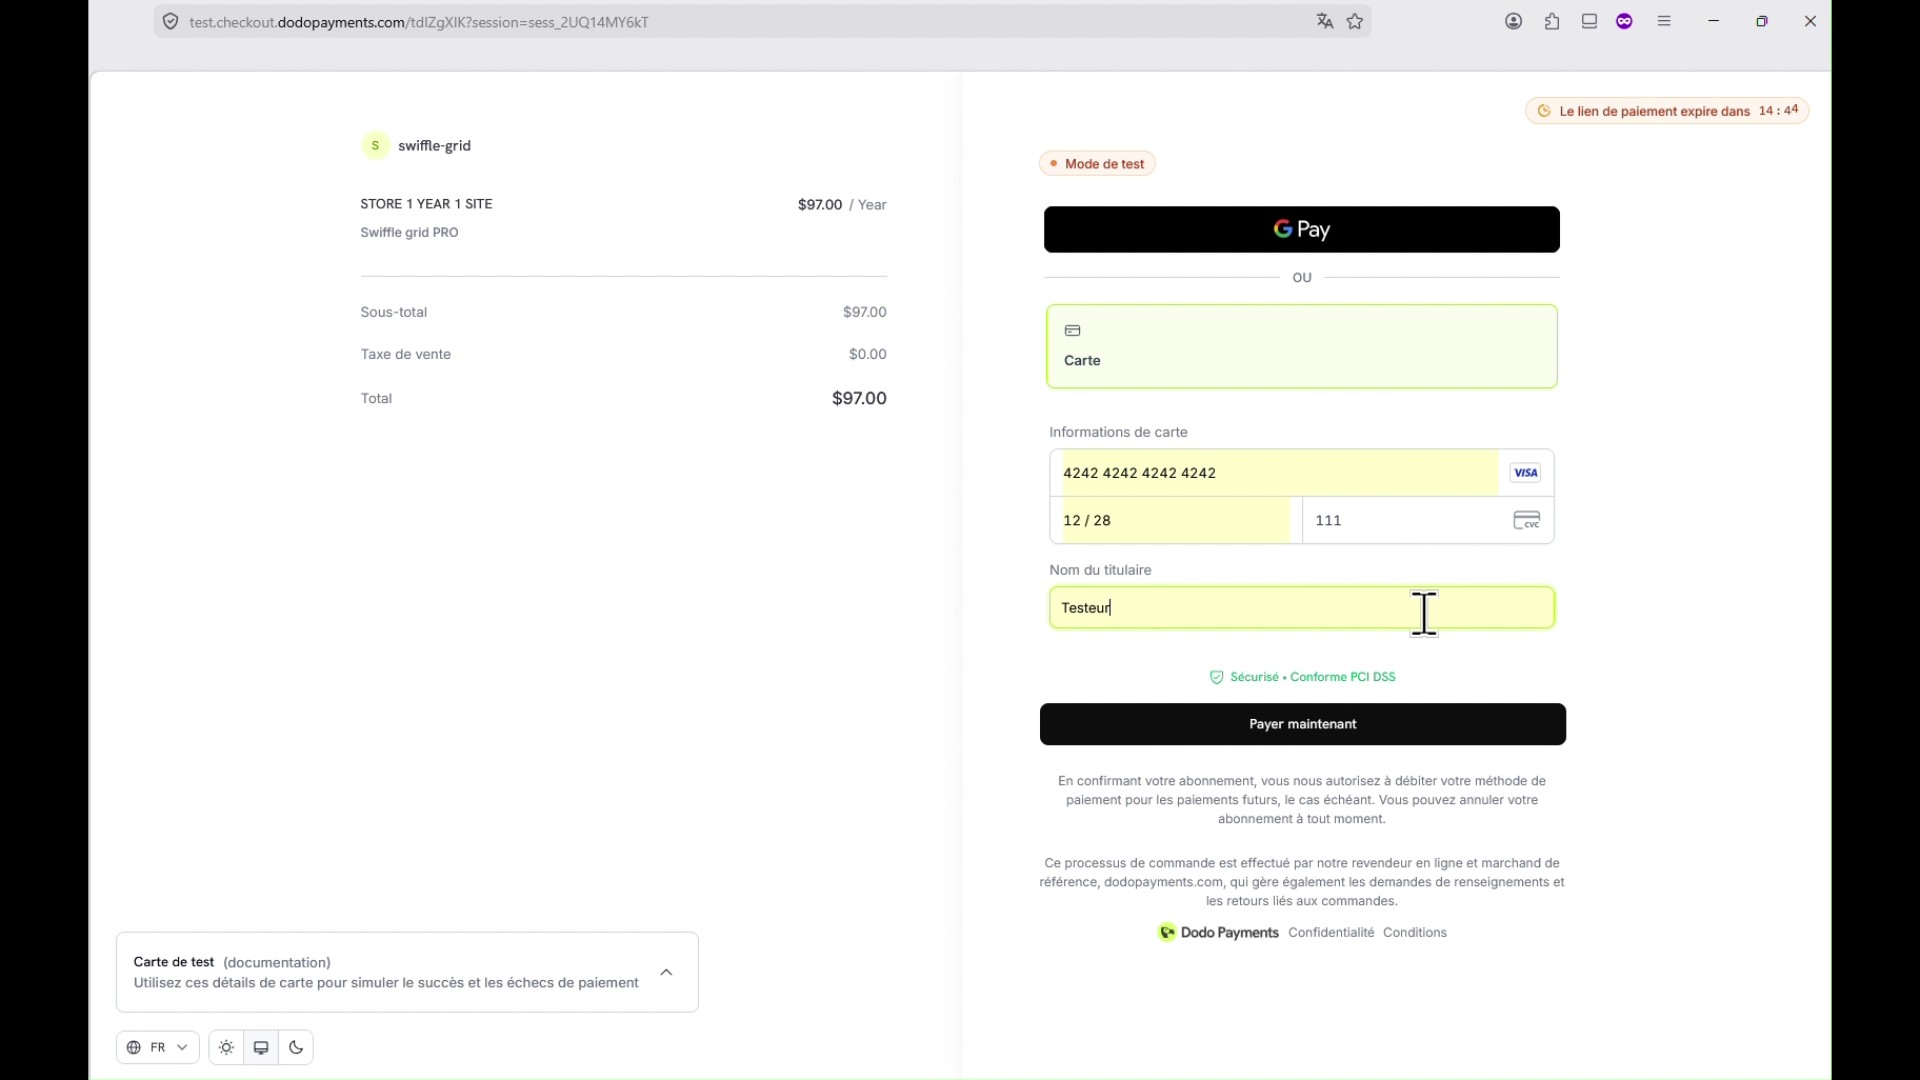
Proceed with the payment.
Step 5 — Check your email
Once the payment is complete, you’ll see the confirmation page.
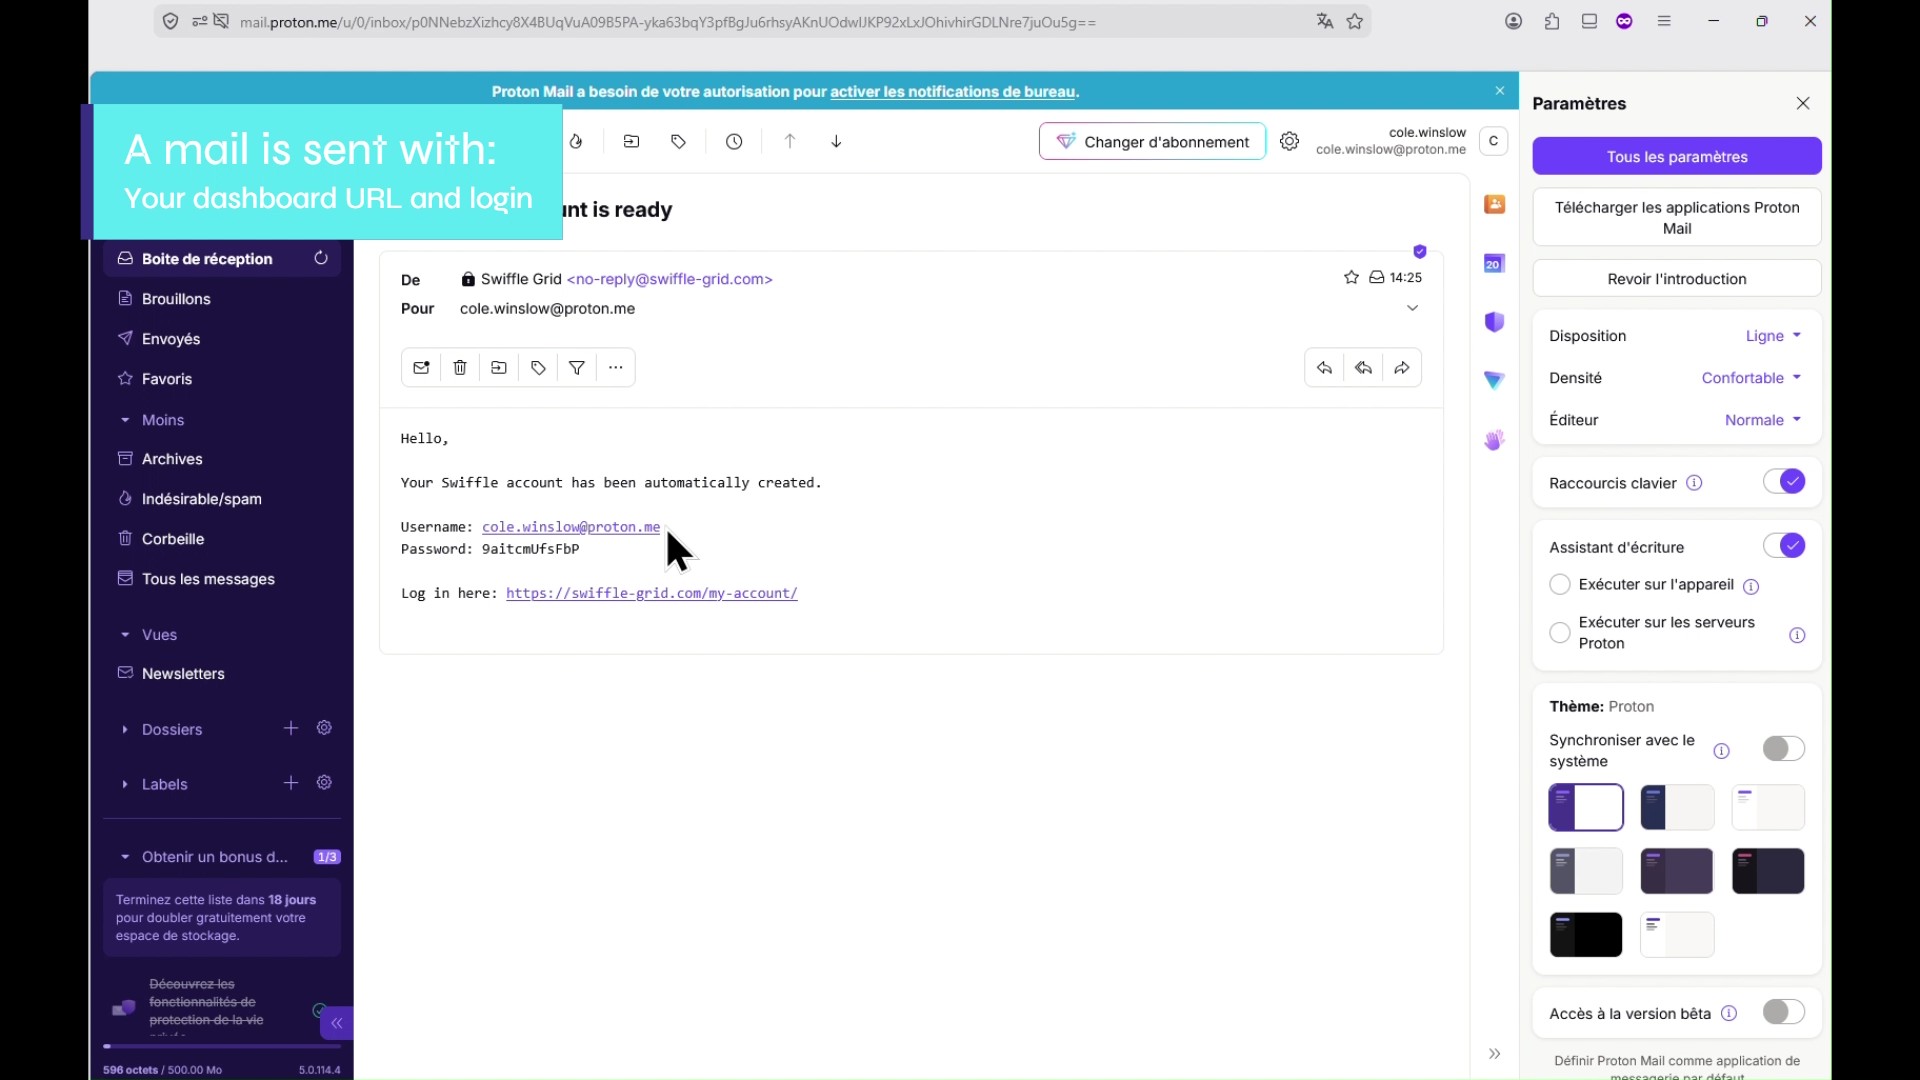
If you’re a new customer, you’ll also receive an email with instructions to access your Swiffle dashboard.
Step 6 — Access Your Dashboard
Follow instructions to open your Swiffle dashboard. Follow the link.
Step 7 — Install the PRO plugin
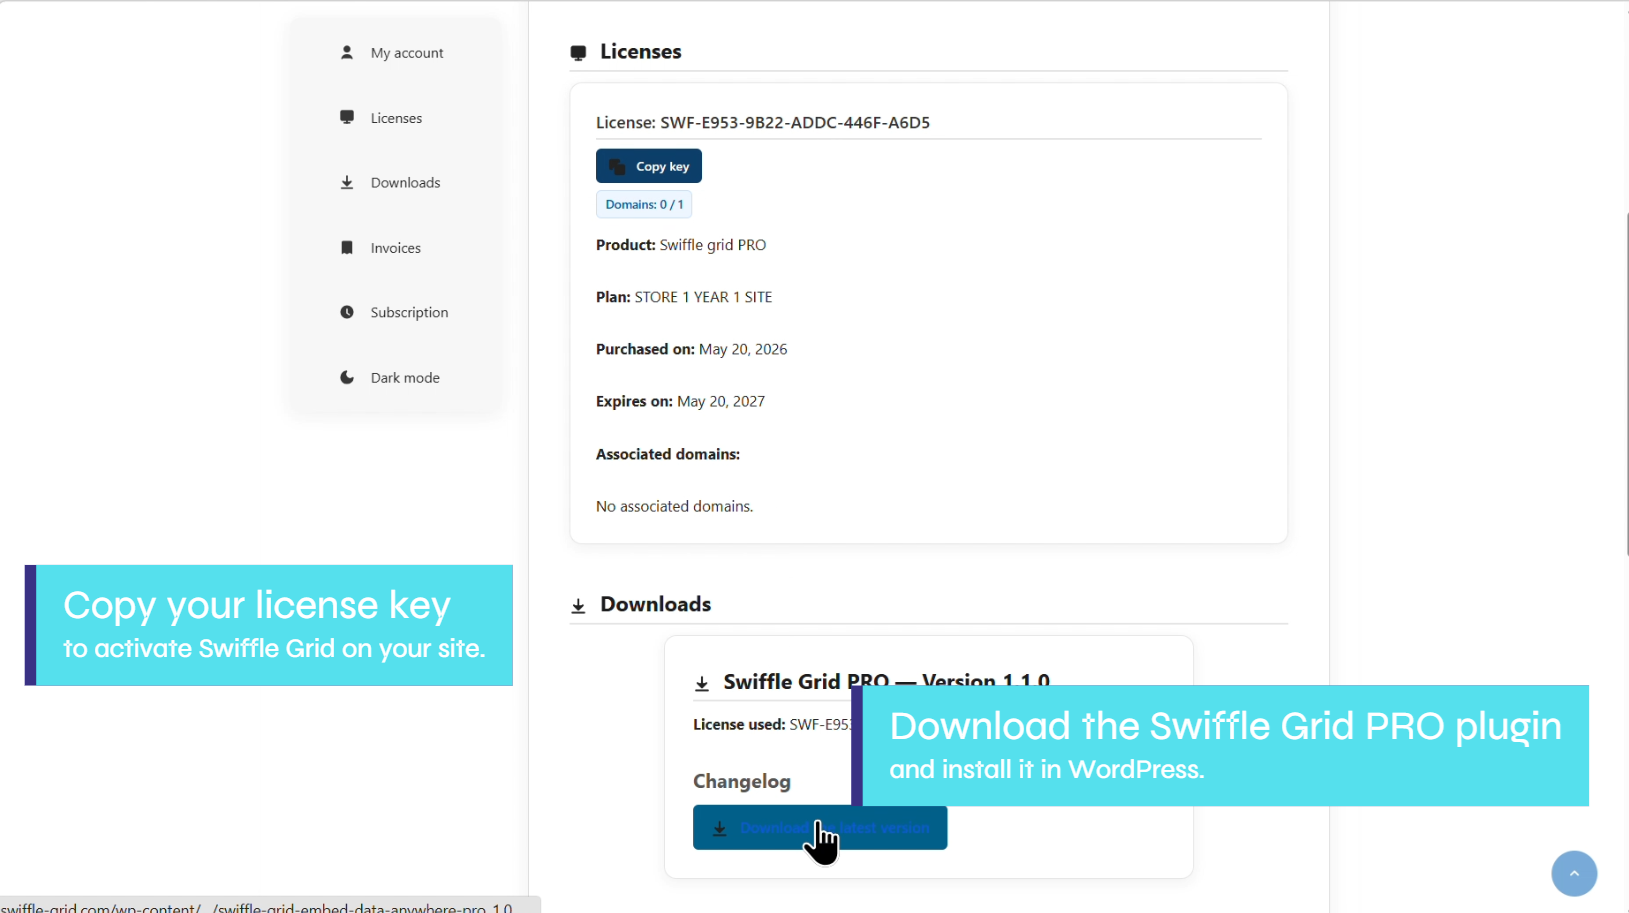
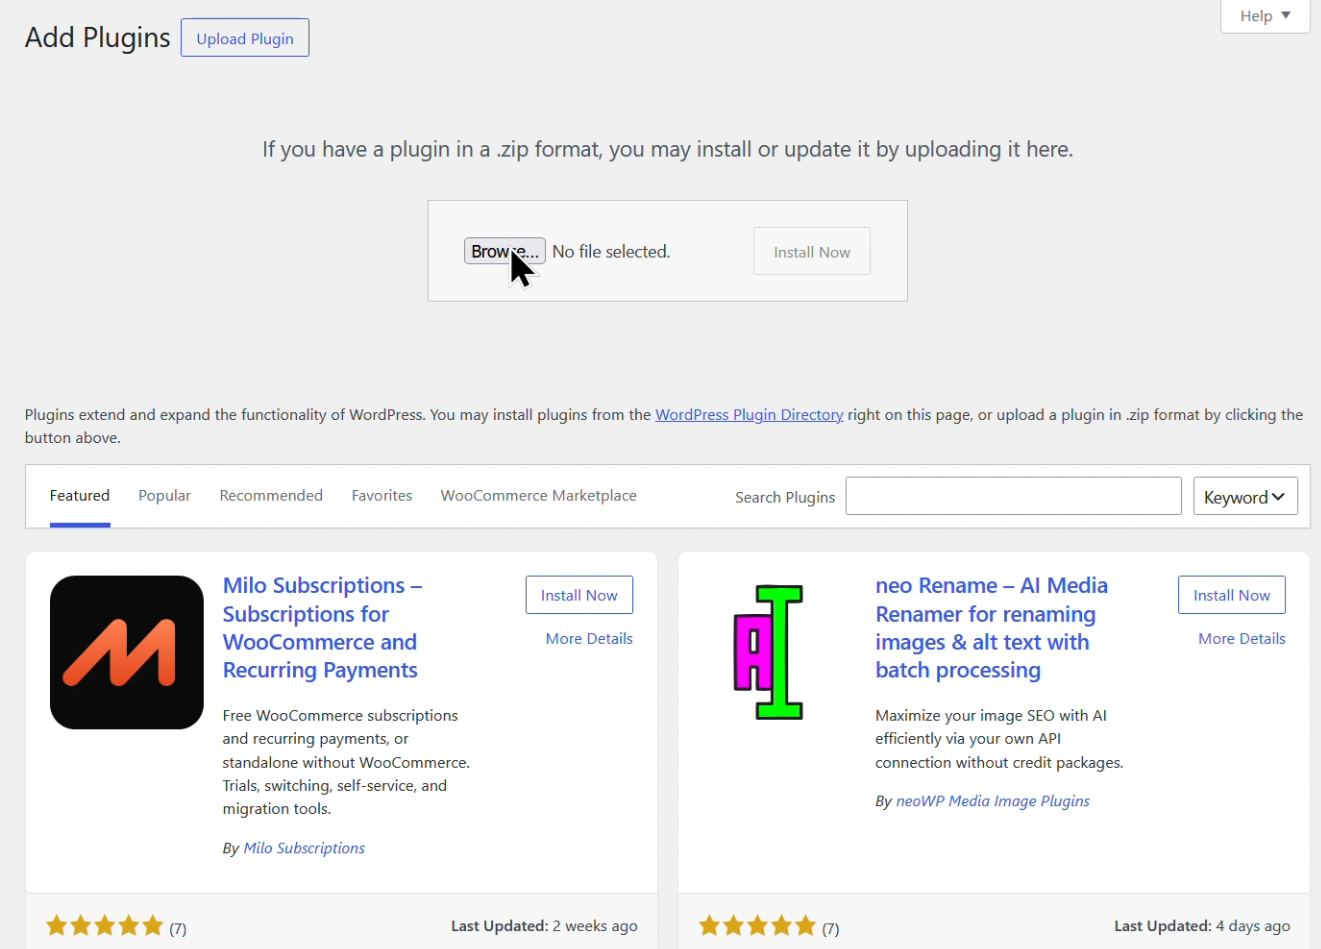
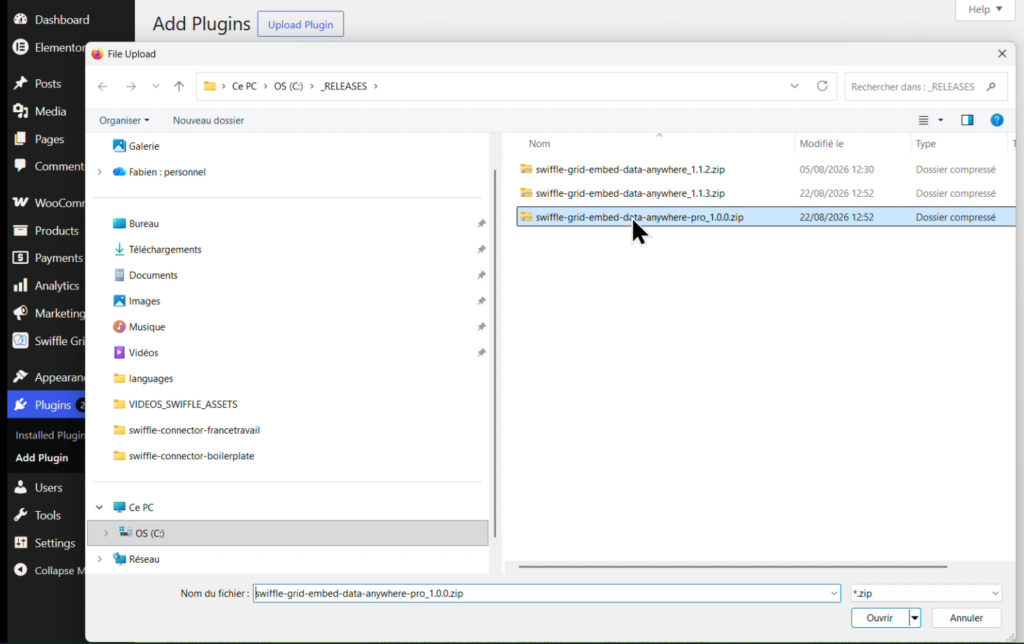
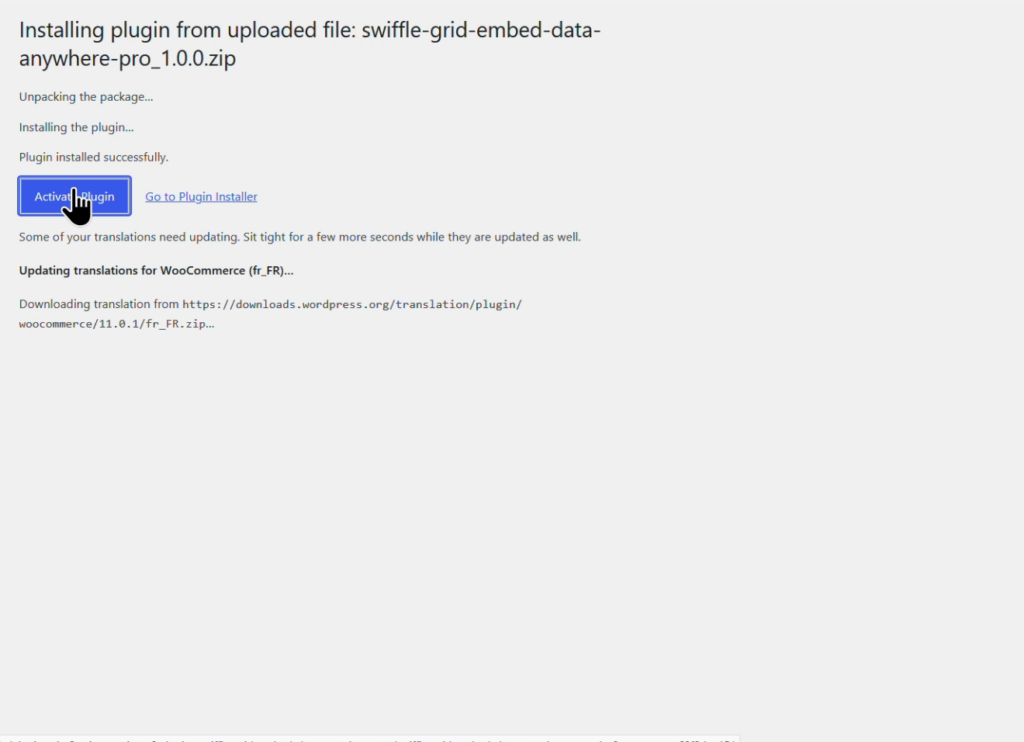
Install the Swiffle Grid PRO plugin you’ve just downloaded from your dashboard, then activate it.
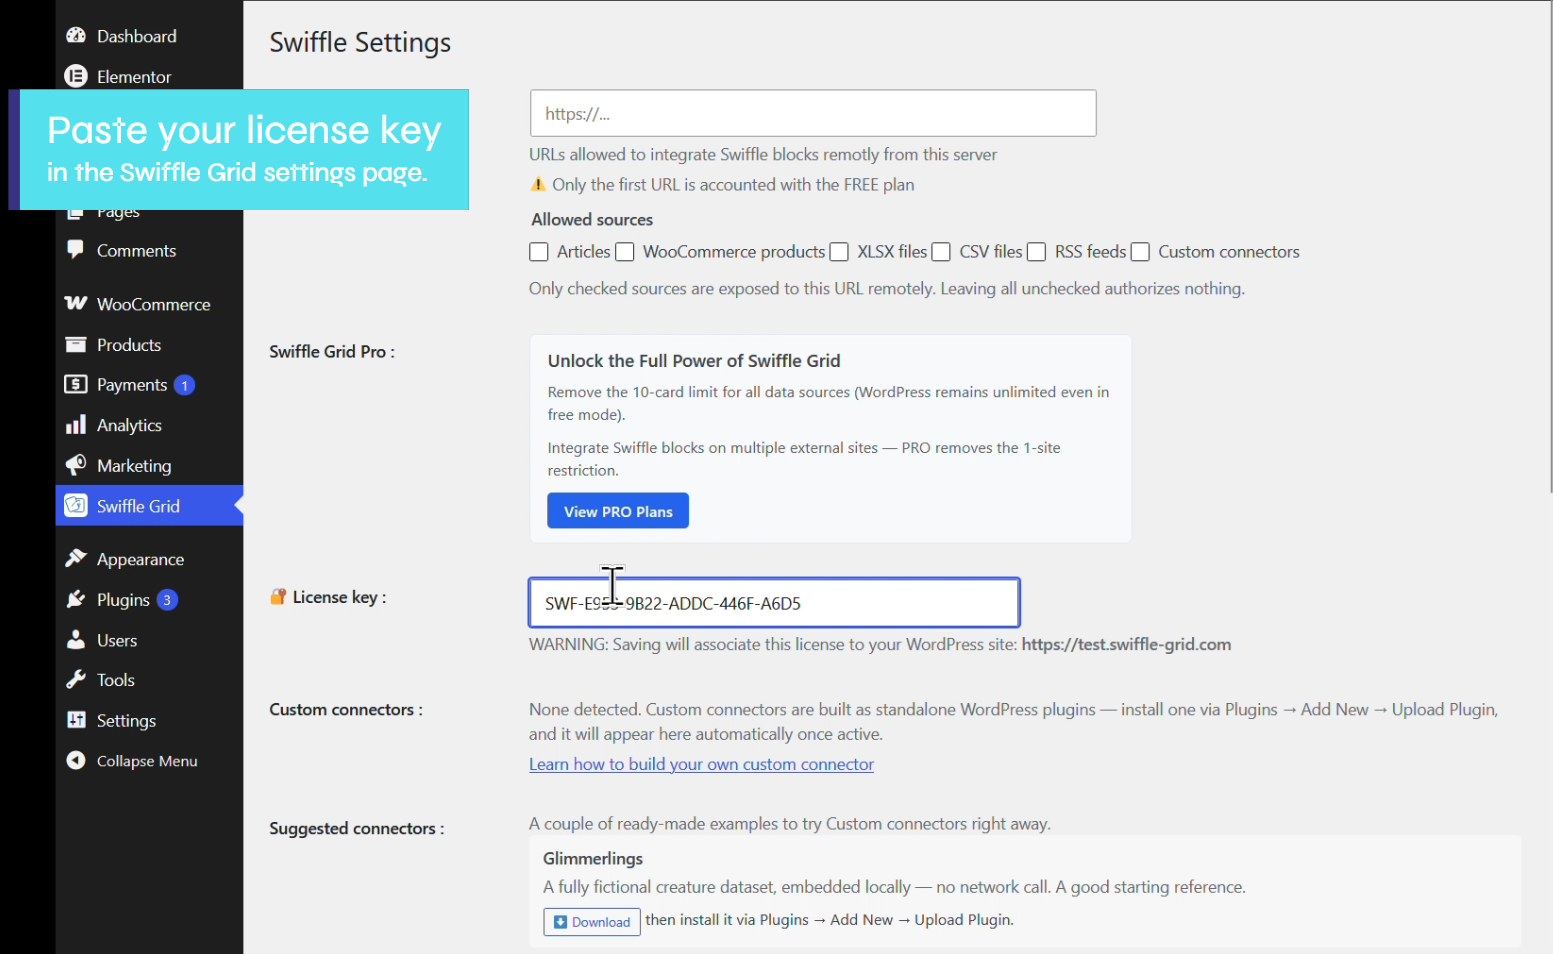
Step 8 — Paste Your License Key
Paste your licence key to activate PRO.
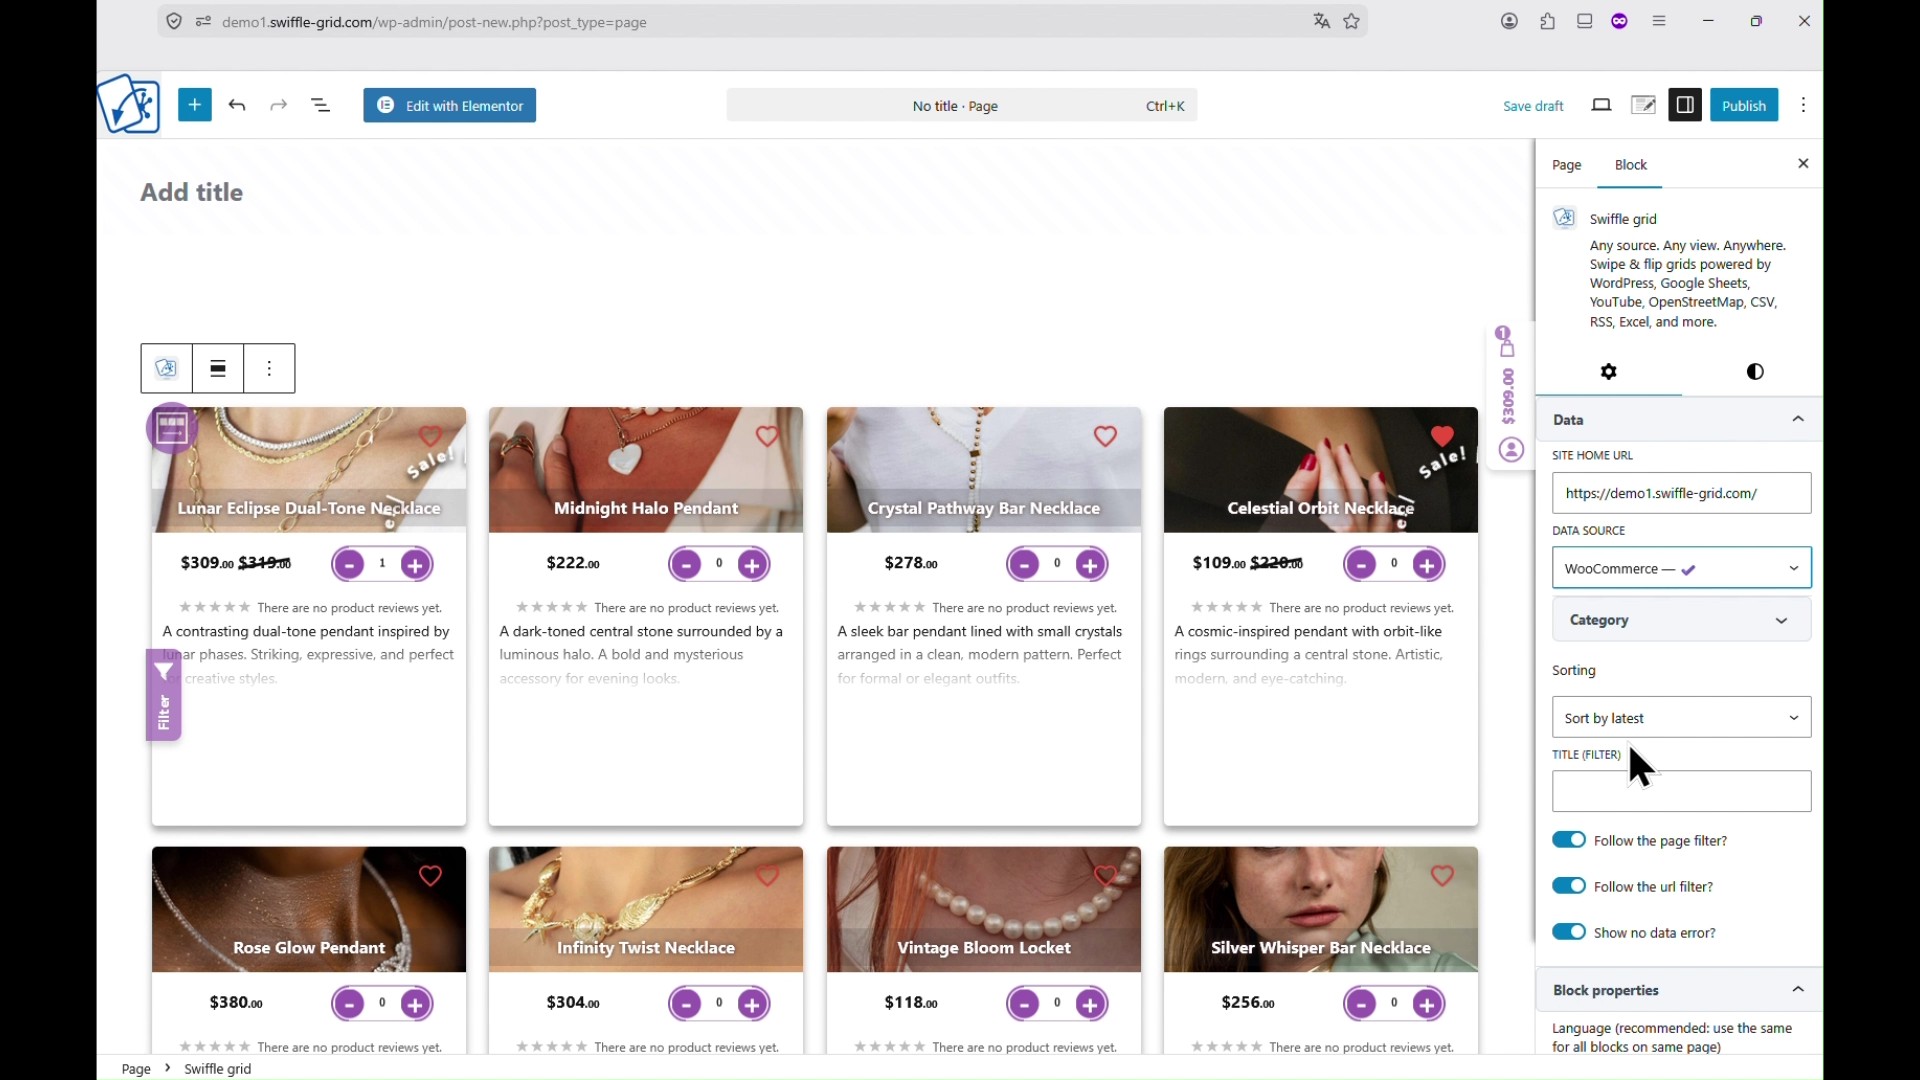
Step 9 — You’re Ready to Go
You’re now ready to create your first Swiffle Grid, with no limits on your data sources.
Thanks for reading. Check out our channel for more tutorials to help you succeed.